Execute an Existing Test Case in BotGauge
In this article, you'll learn how to execute an existing test case in BotGauge.
Step 1: Locate the Test Case
Begin by locating the test case you've already created. The screen you're currently viewing is the generation part. Once the test case is fully generated, it's time to execute it.
Step 2: Look for the Execute Button
Look for the Execute button in the top right-hand corner of your screen.
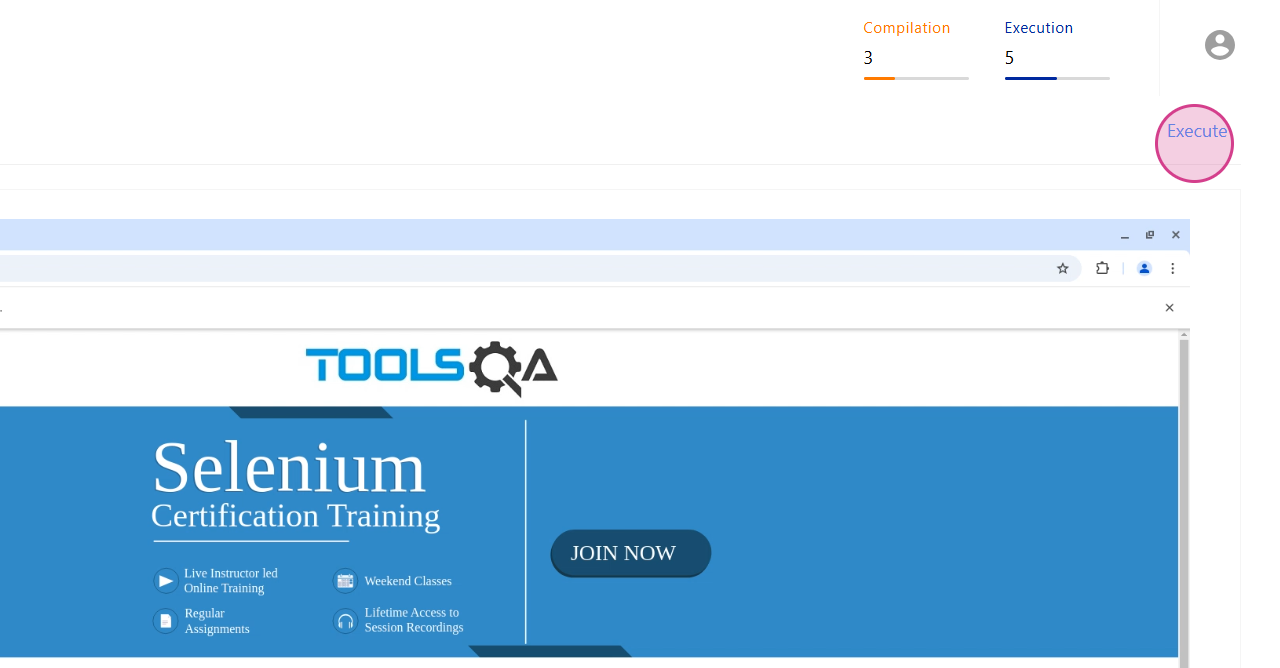
Step 3: Click on the Execute Button
Click on the Execute button. You'll be prompted to select your preferred browser platform combinations.
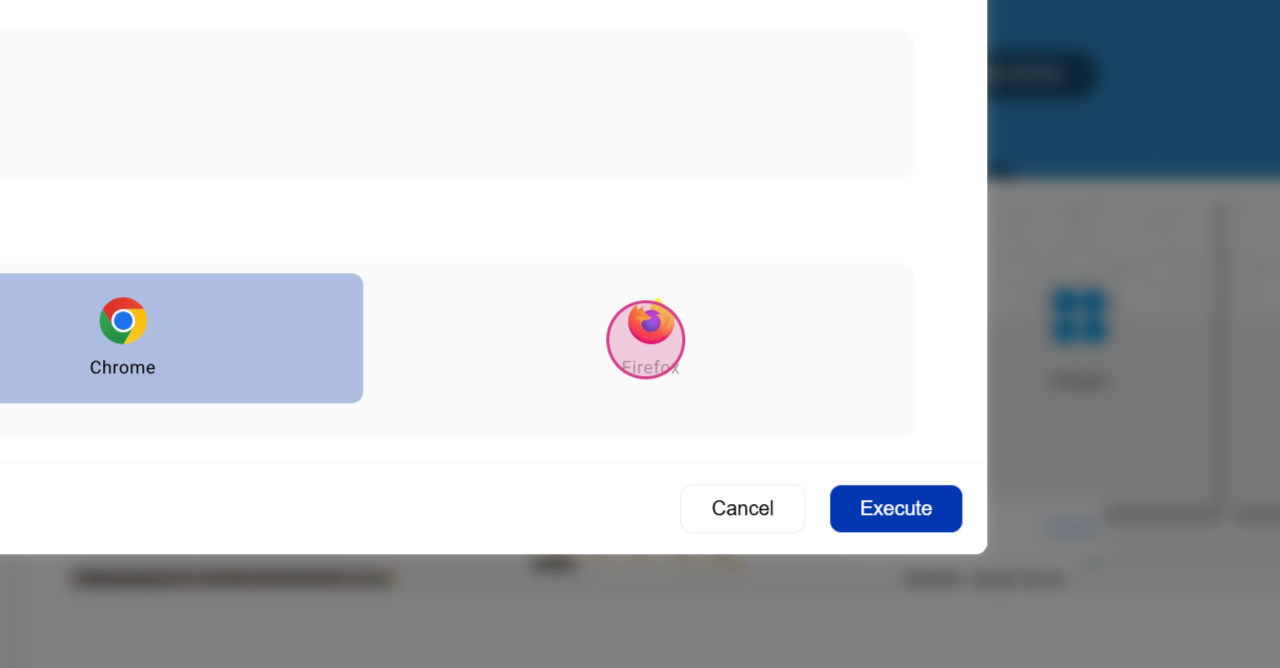
Step 4: Choose Your Platform Combination
Choose the combination that suits your needs and click on
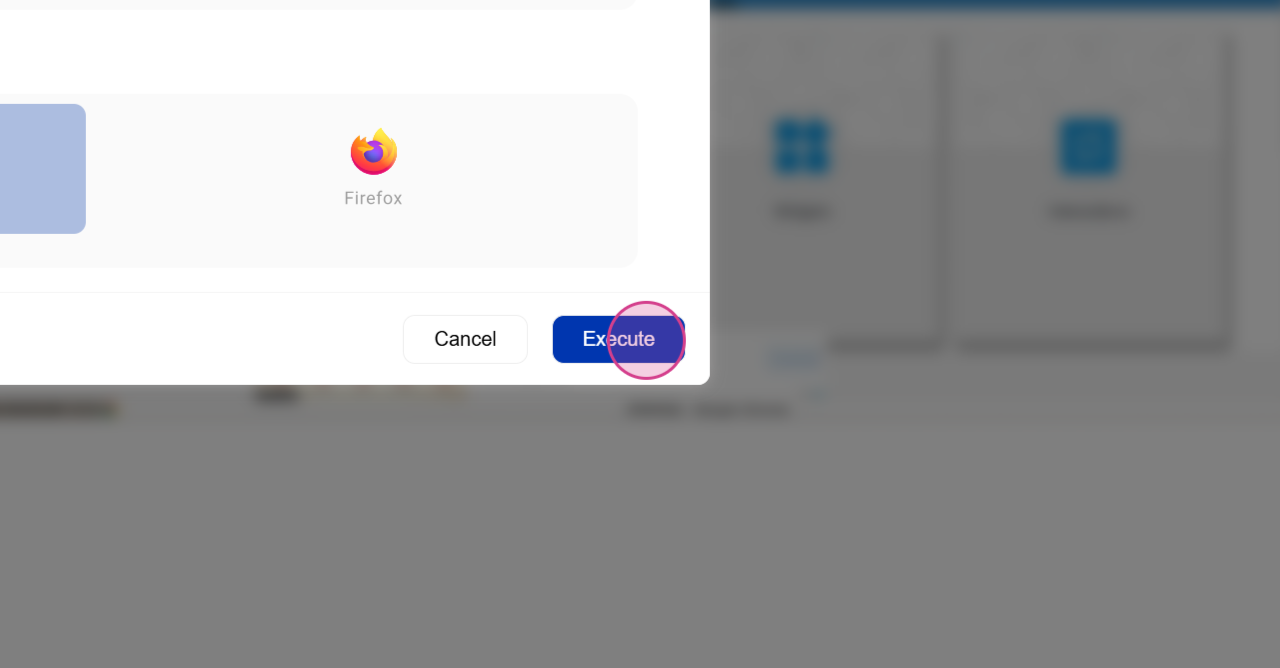
Execute again. The execution process will now run in the background. Once it starts, the window will close automatically.
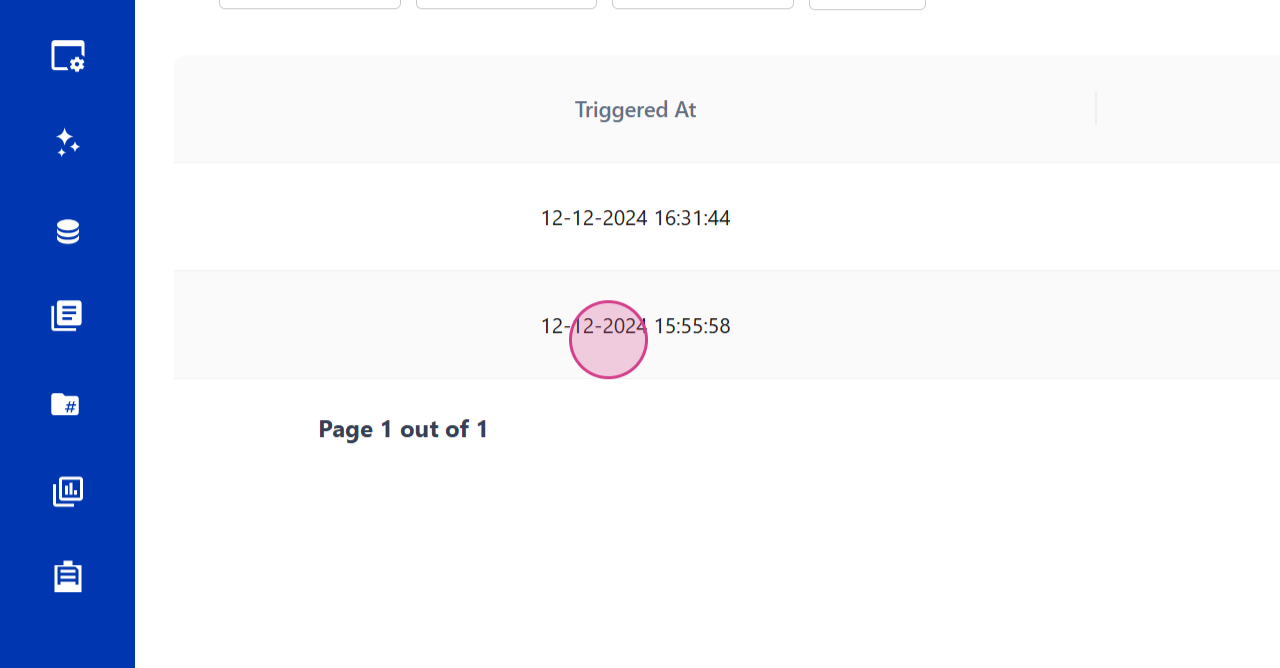
Step 5: View Execution History
If you're interested in viewing the execution process, navigate to the
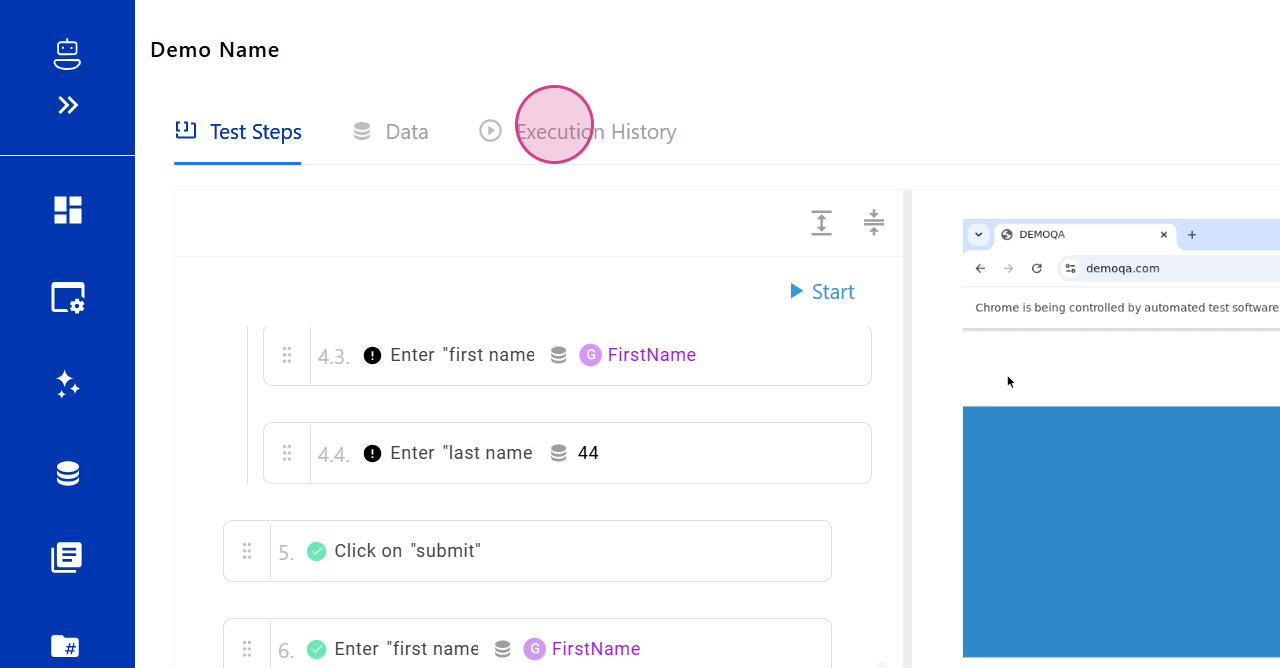
Execution History. Here, you can view the ongoing execution.
Step 6: View the Execution Completion
Upon completion, the execution will appear like this. Click on
Details to view more information about the execution.
Step 7: Review the Test Case Report
This is a report of the individual test case.
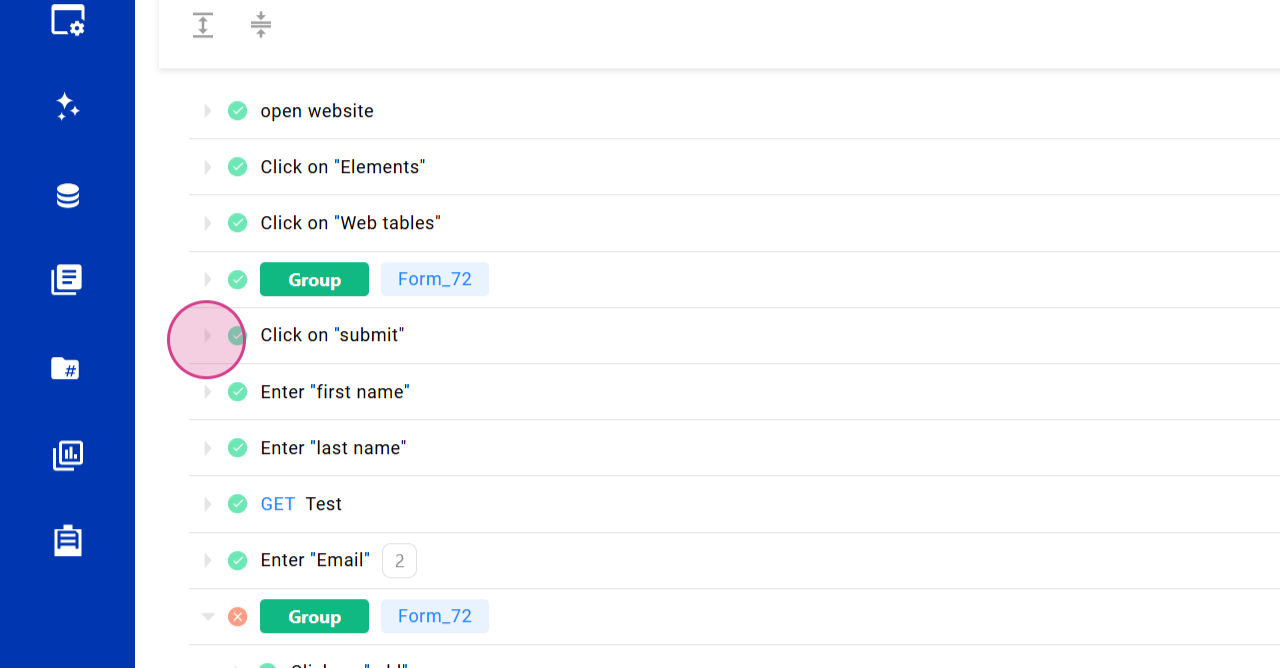
Click on any of the details to view the full report.