Record a Test Case Using BotGauge's Built-In Recorder
In this article, you'll learn how to record a specific test case using Bot Gauge's built-in recorder.
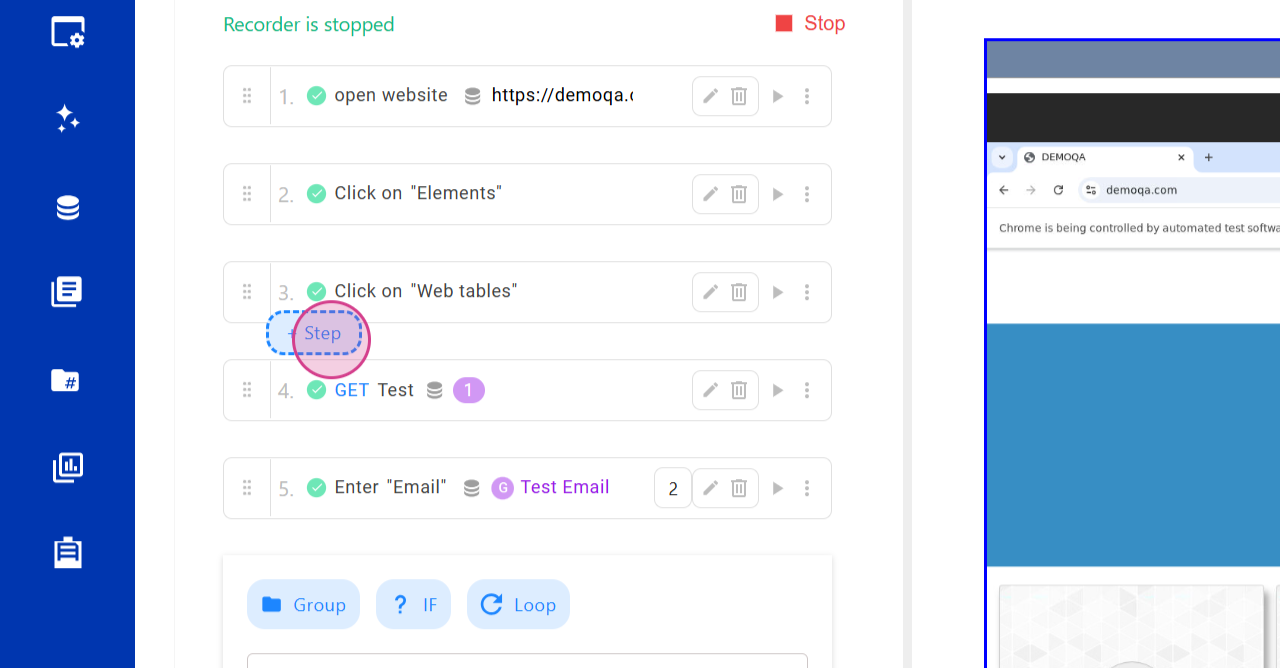
Step 1: Click on the Plus Step Icon
Begin by clicking on the plus step icon against the step you wish to record.
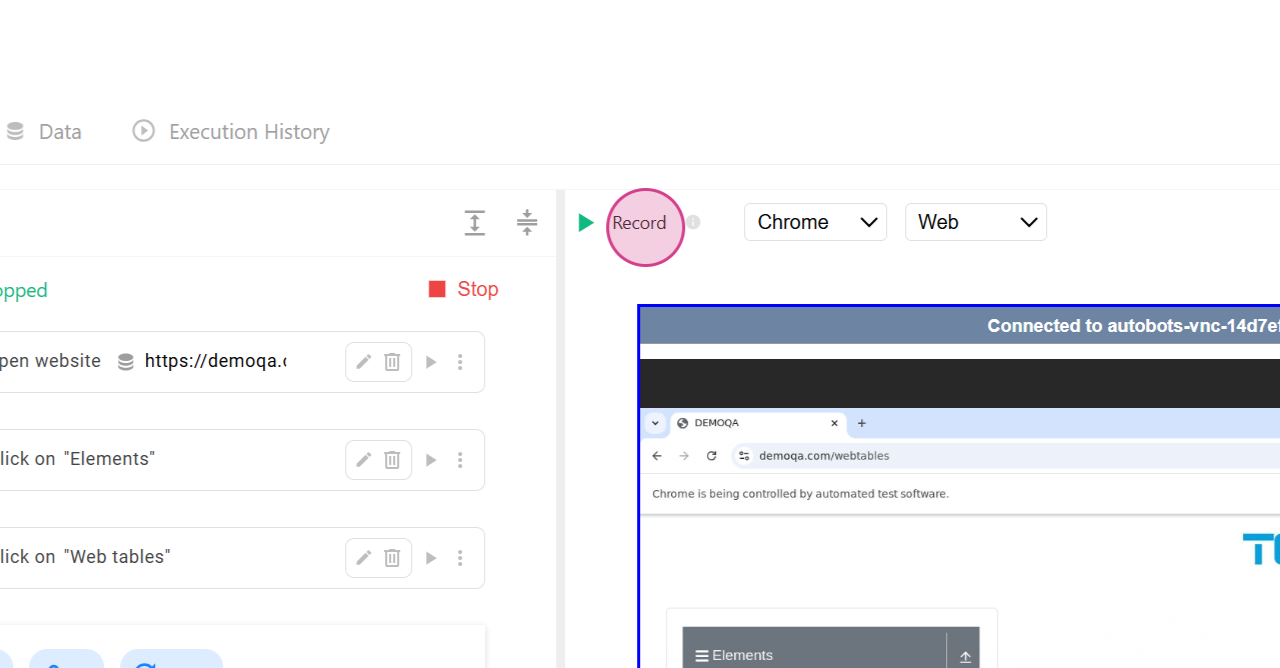
Step 2: Navigate to the Page and Click on the Record Option
Navigate to the page where you want to record. Click on the record option located at the top.
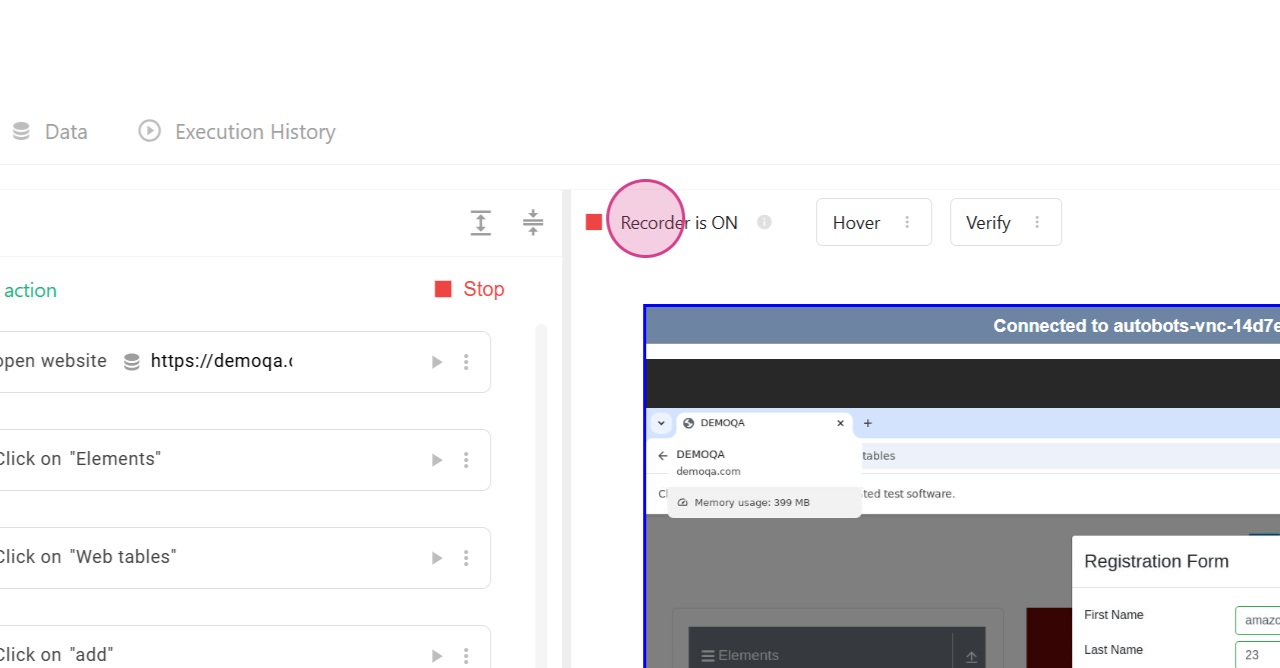
Step 3: Perform the Actions You Want to Record
Perform the actions you want to record. The tool captures all your clicks and actions. For instance, if you're entering details, you have two options. You can manually input the details or select from existing variables. If you choose a variable, like "first name" with the value "Amazon", it automatically attaches and creates the details. Manual entries are also automatically captured.
Step 4: Turn Off the Recorder
After recording, turn off the recorder. Now, you're free to edit any steps.
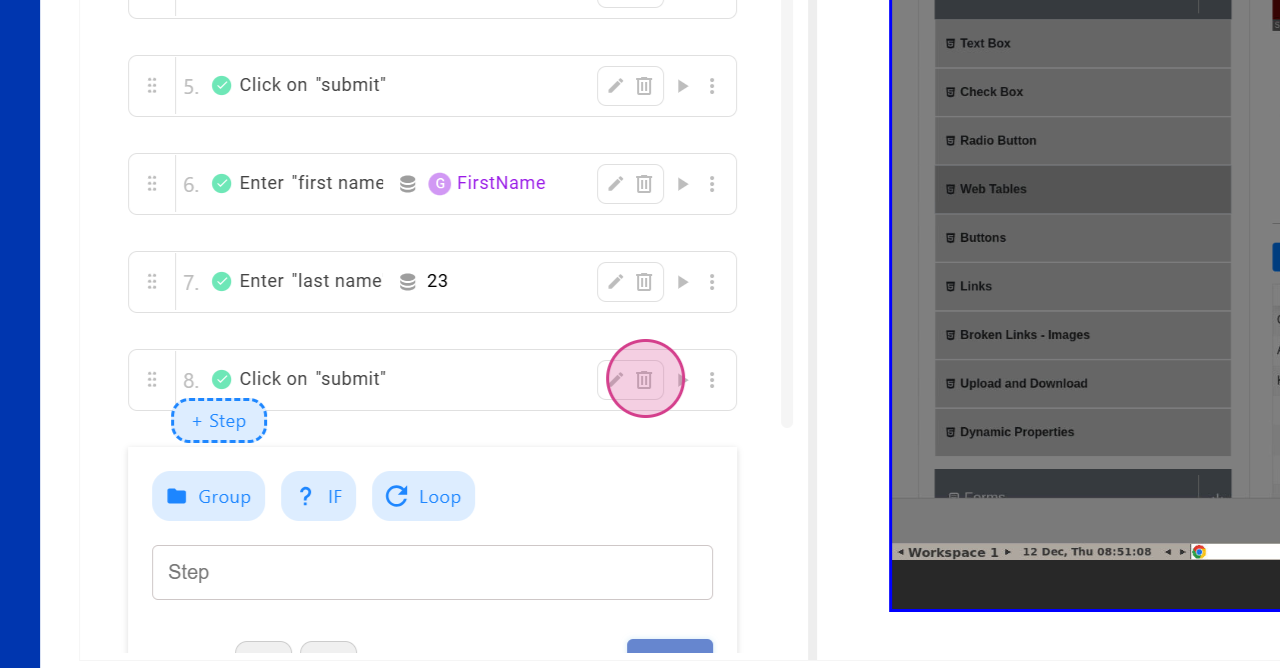
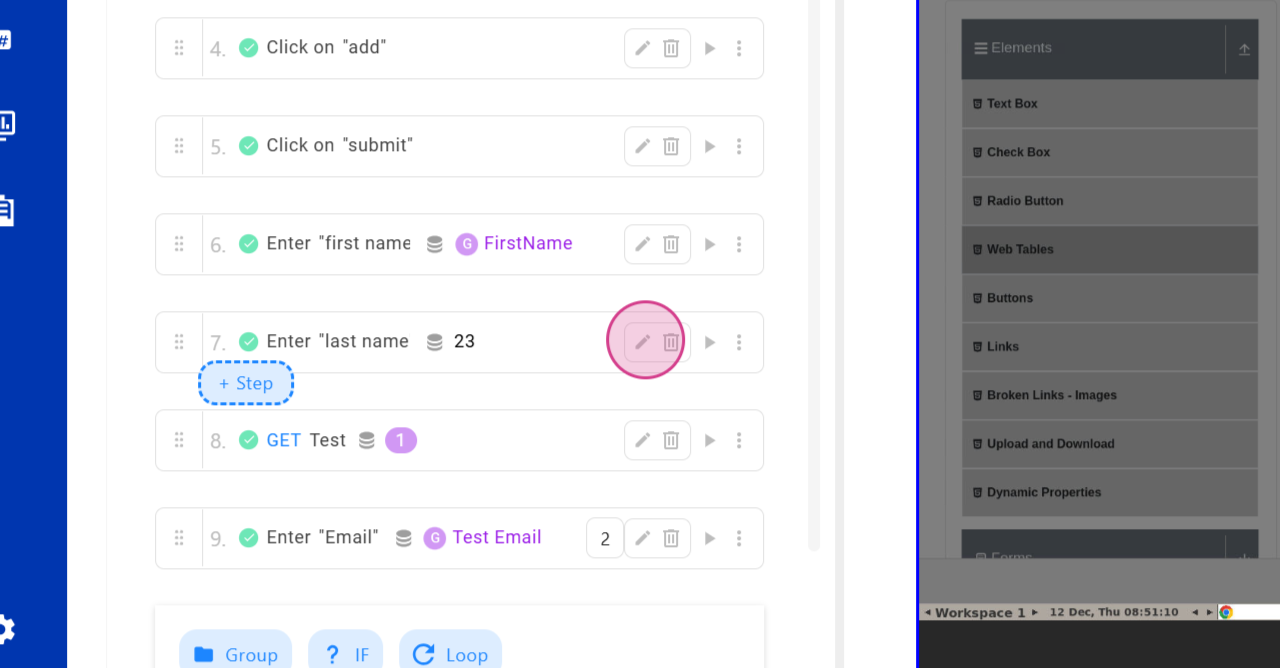
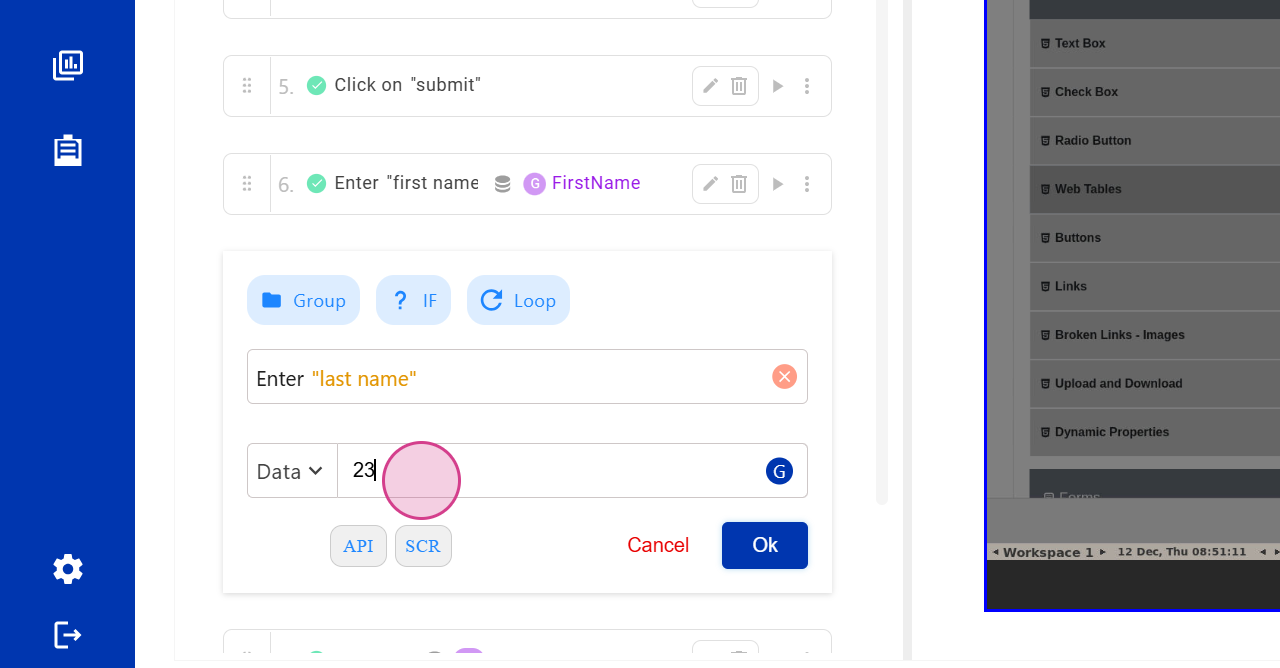
Step 5: Edit Any Steps by Clicking on the Edit Button
Make the desired changes to any steps by clicking on the edit button.
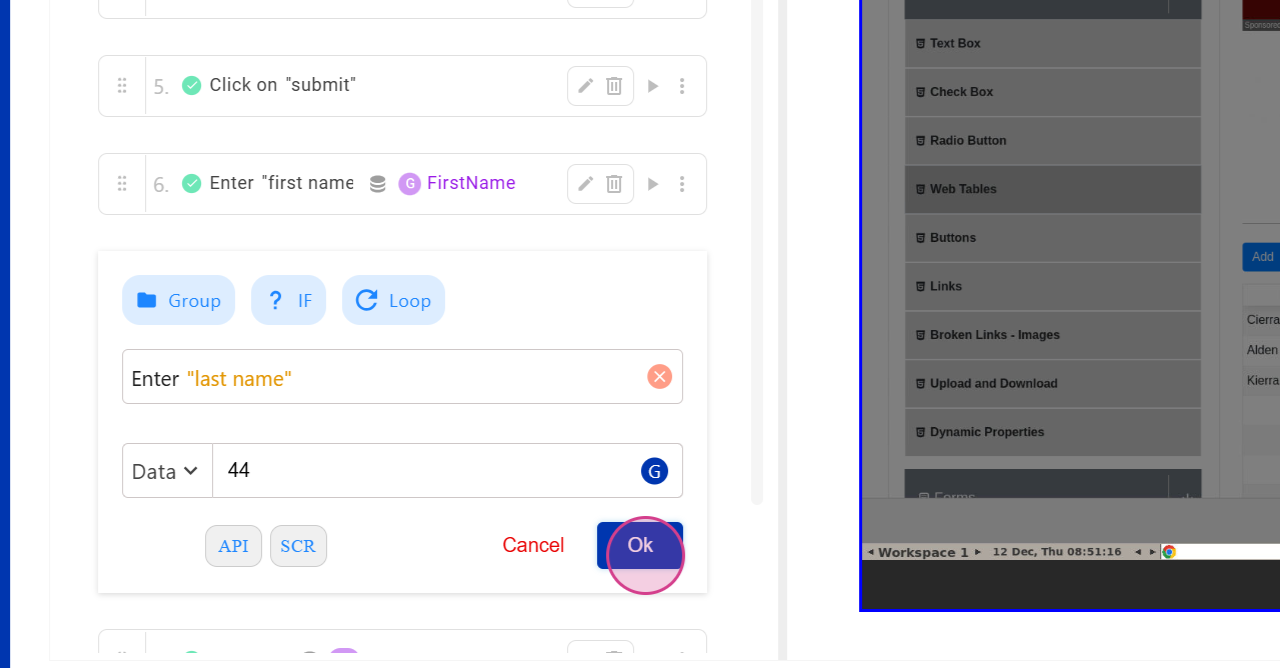
Step 6: Click OK After Making Changes
Once you've made your changes, click OK.
Congratulations! You've successfully recorded and edited a step.