Create and Reuse Groups in Botkits
In this article, you'll learn how to create and reuse groups in Botkits, making your testing process more efficient.
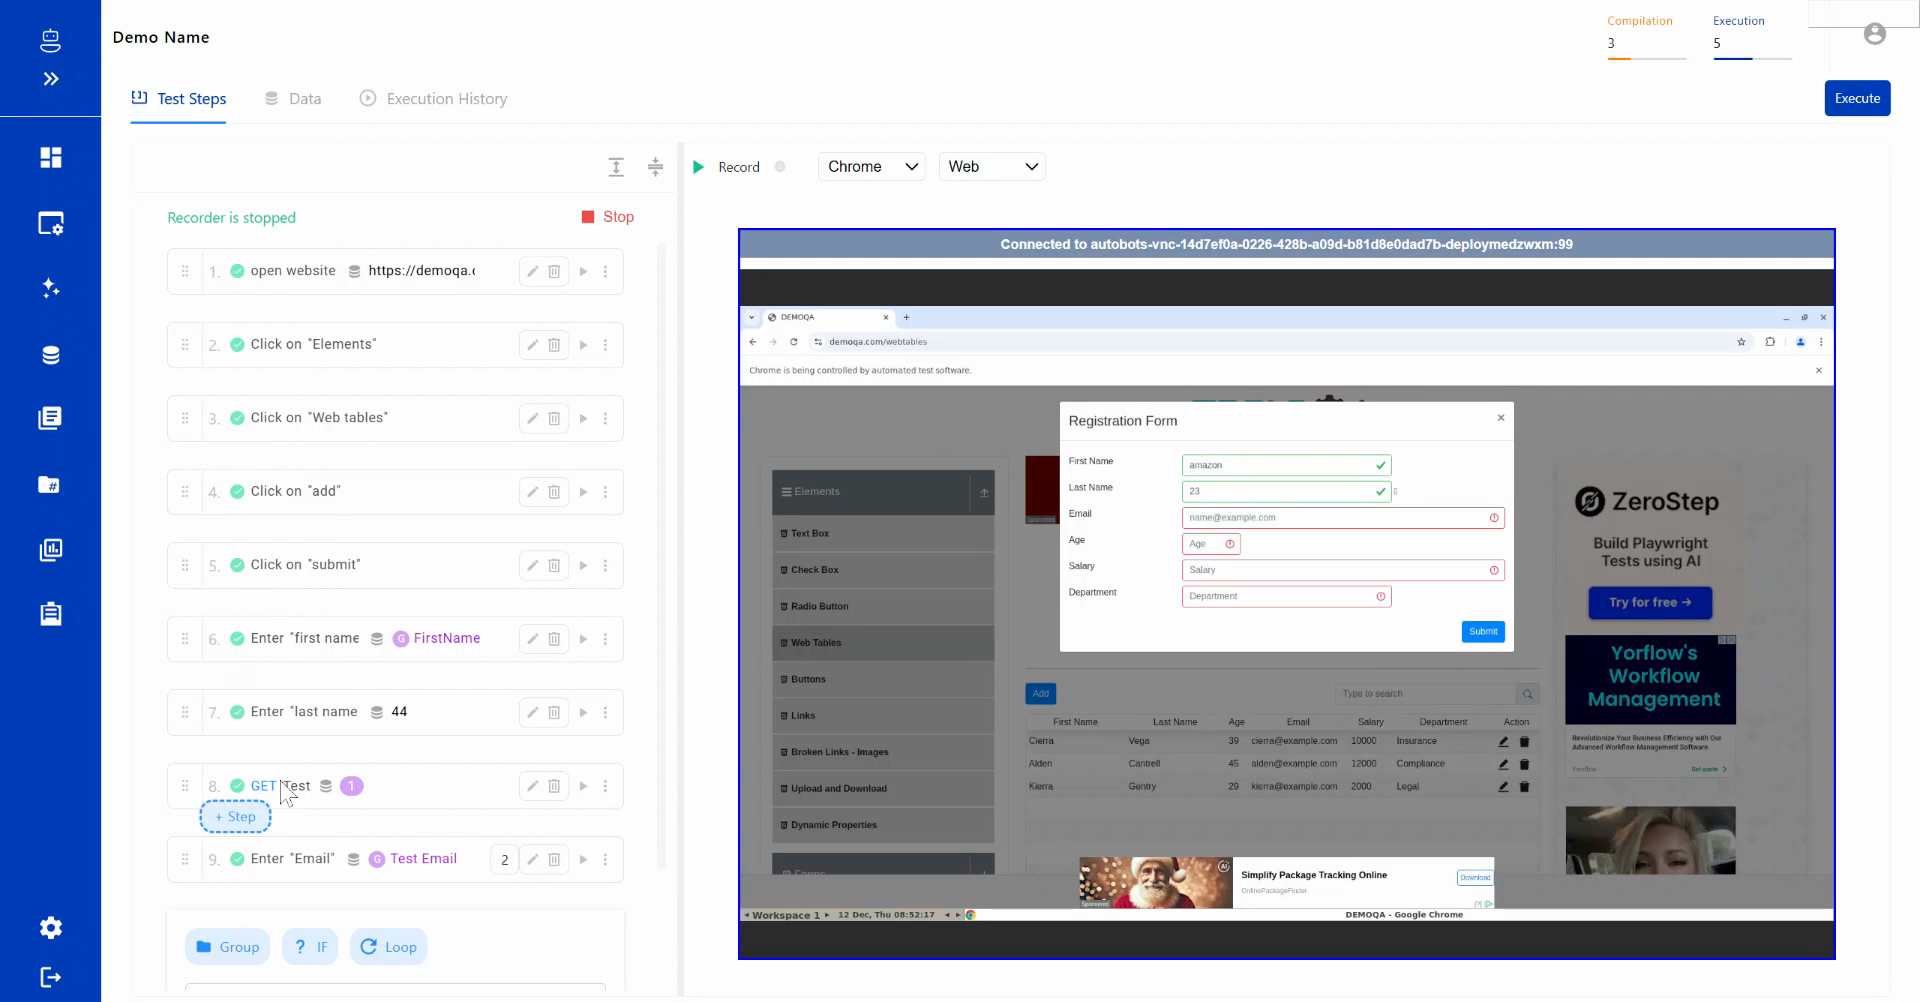
Step 1: Select Multiple Steps to Create a Group
Begin by selecting multiple steps to create a group, or add a step in between and create a group from the steps below it.
Step 2: Understand that Groups Are Reusable Components
Understand that groups are reusable components. For instance, if a registration form appears in multiple test cases, create a group for it. This group can then be reused across your test case or in other test cases with just a few clicks.
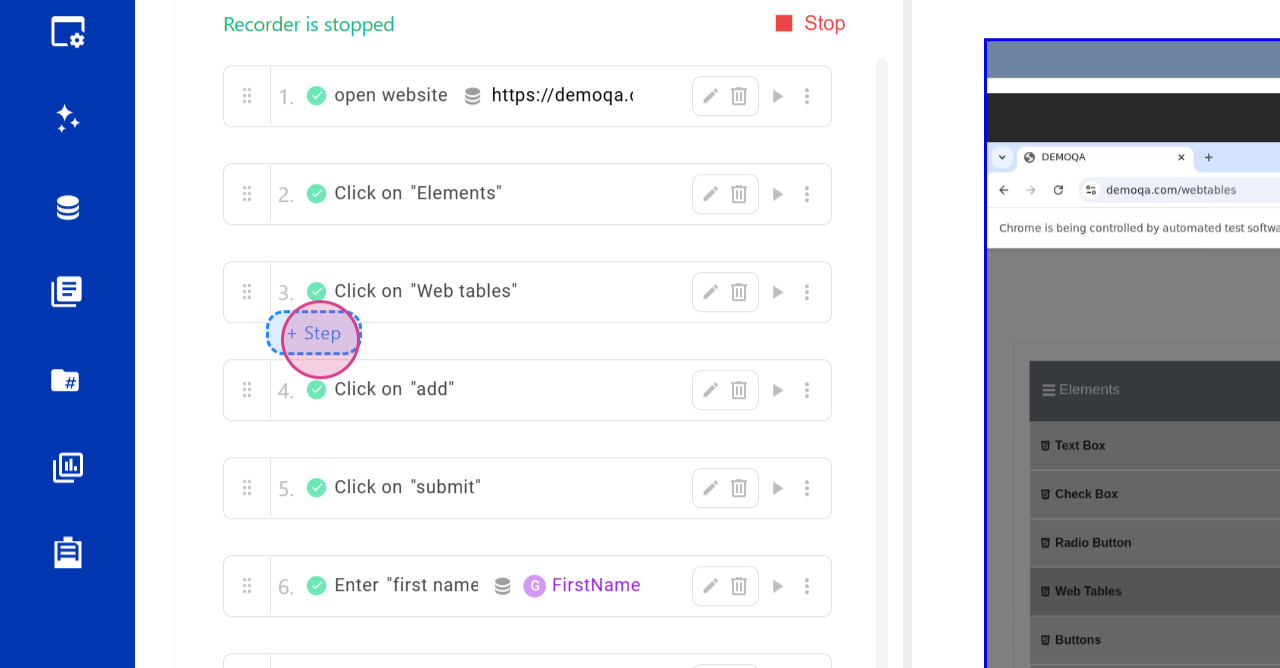
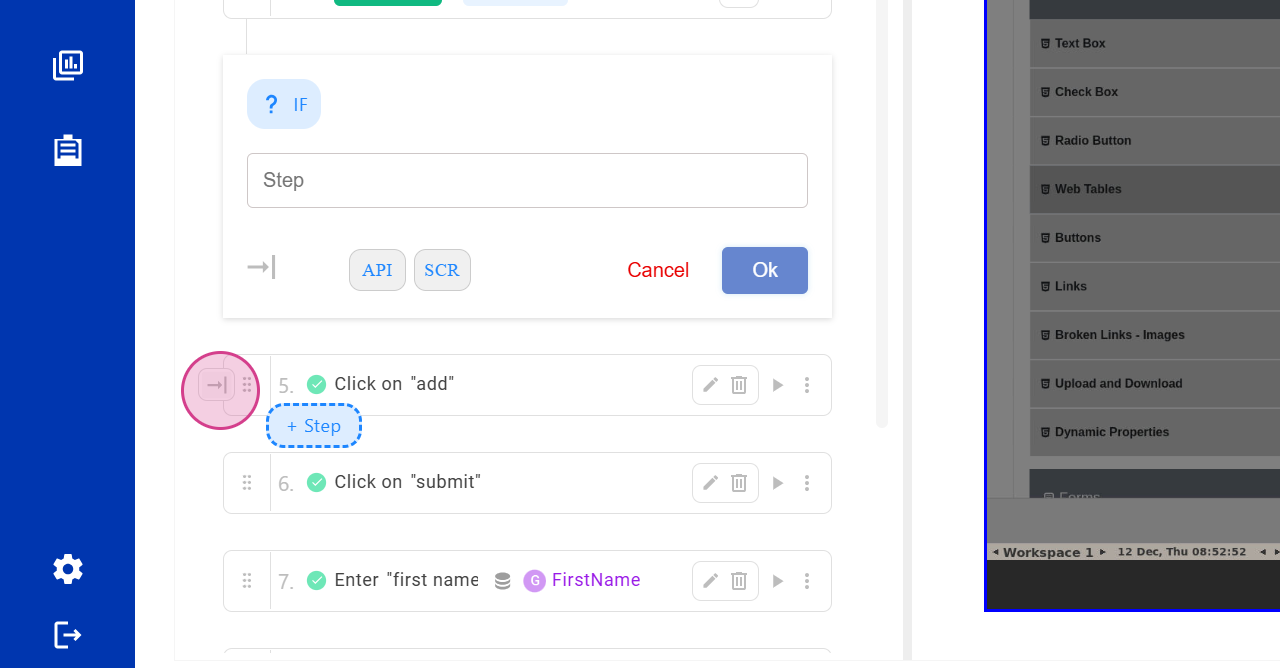
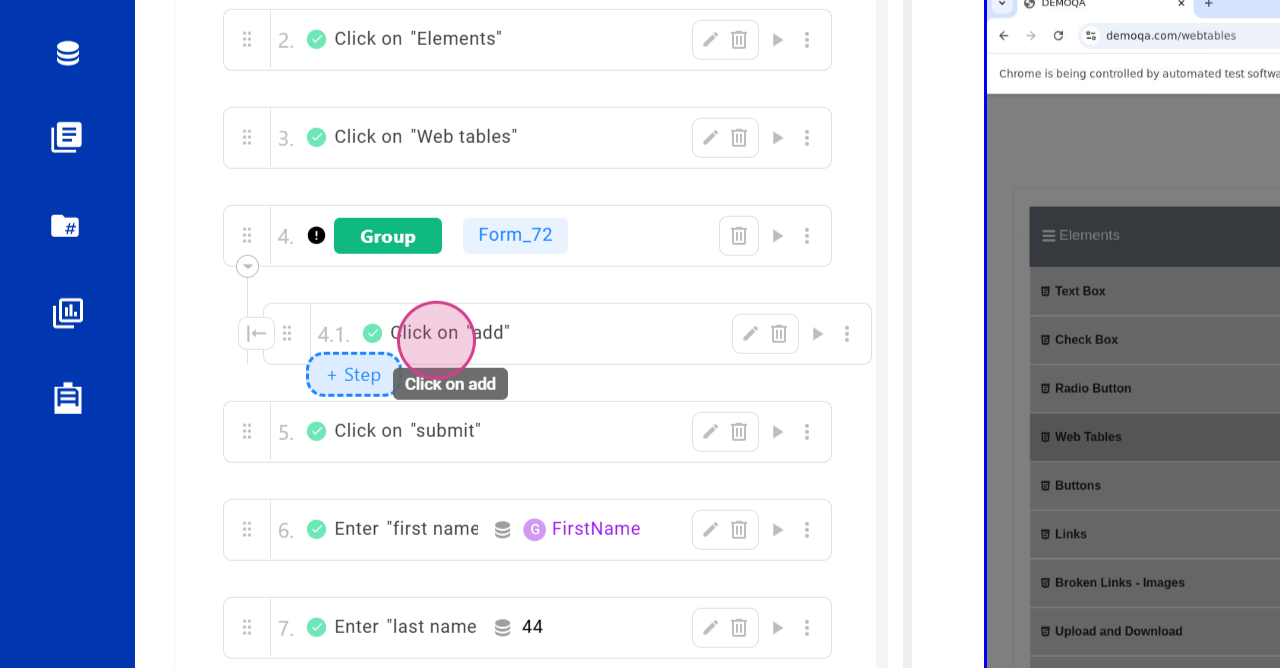
Step 3: Add a Step in Between the Existing Steps
Add a step in between the existing ones.
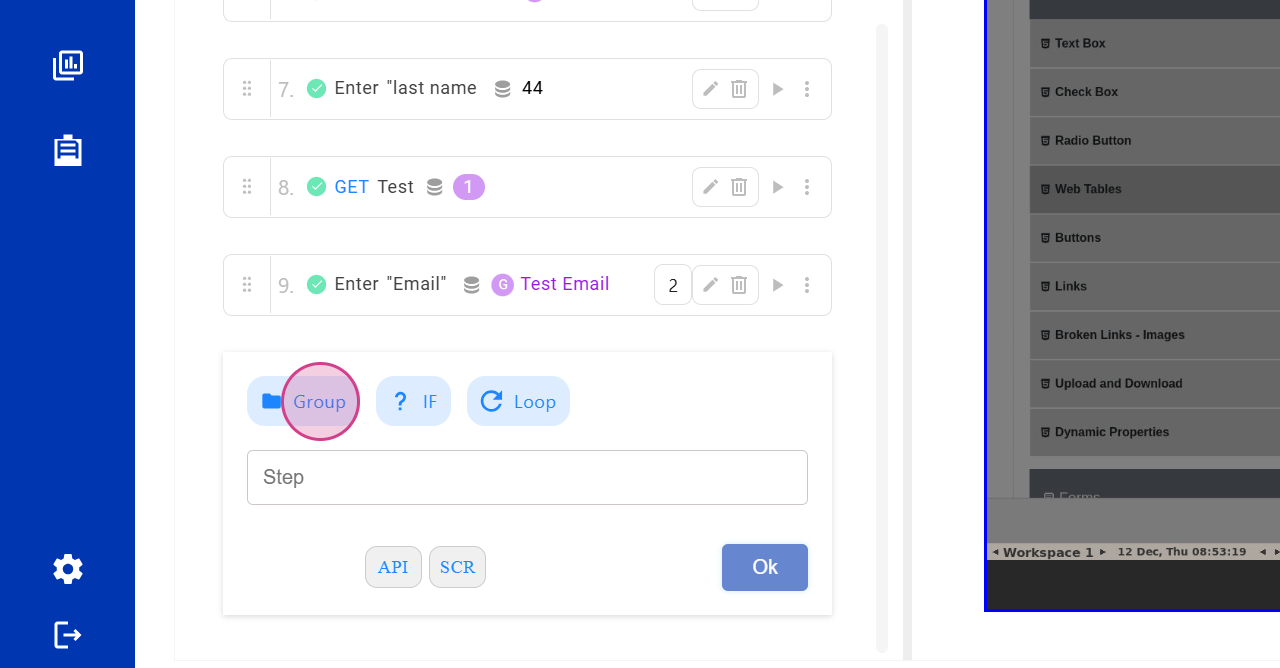
Step 4: Click on the Group Icon
Click on the group icon.
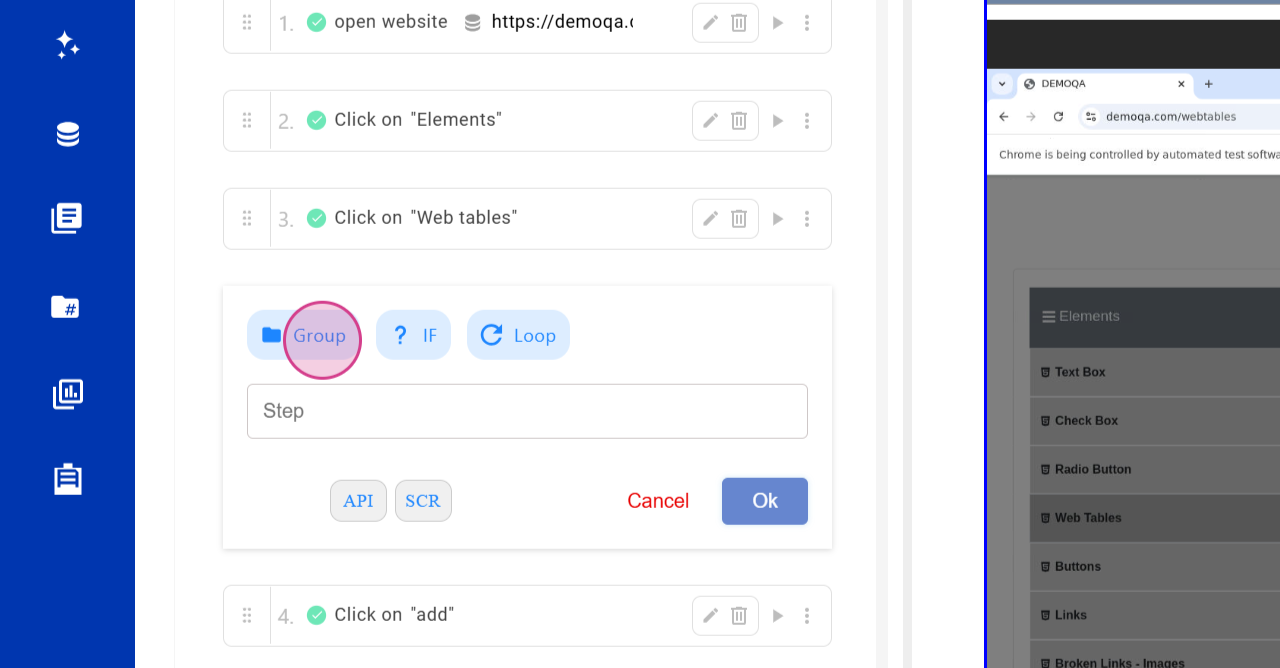
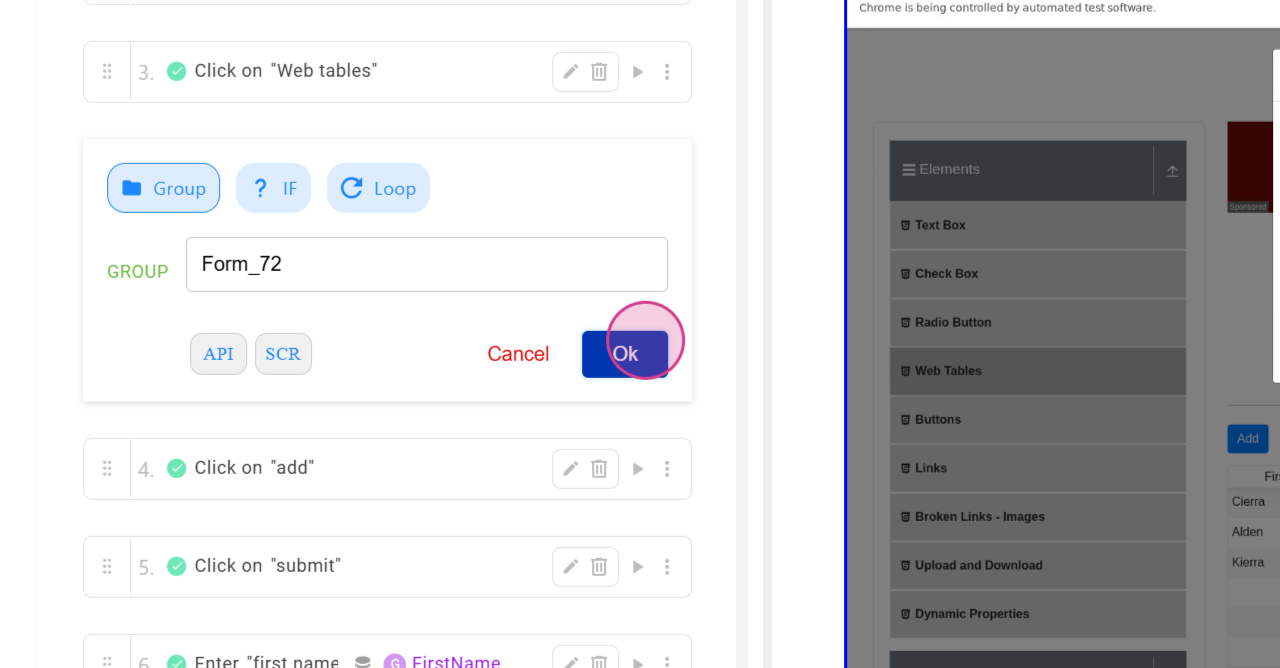
Step 5: Create a Group Name and Click on OK
Create a group name and click on OK.
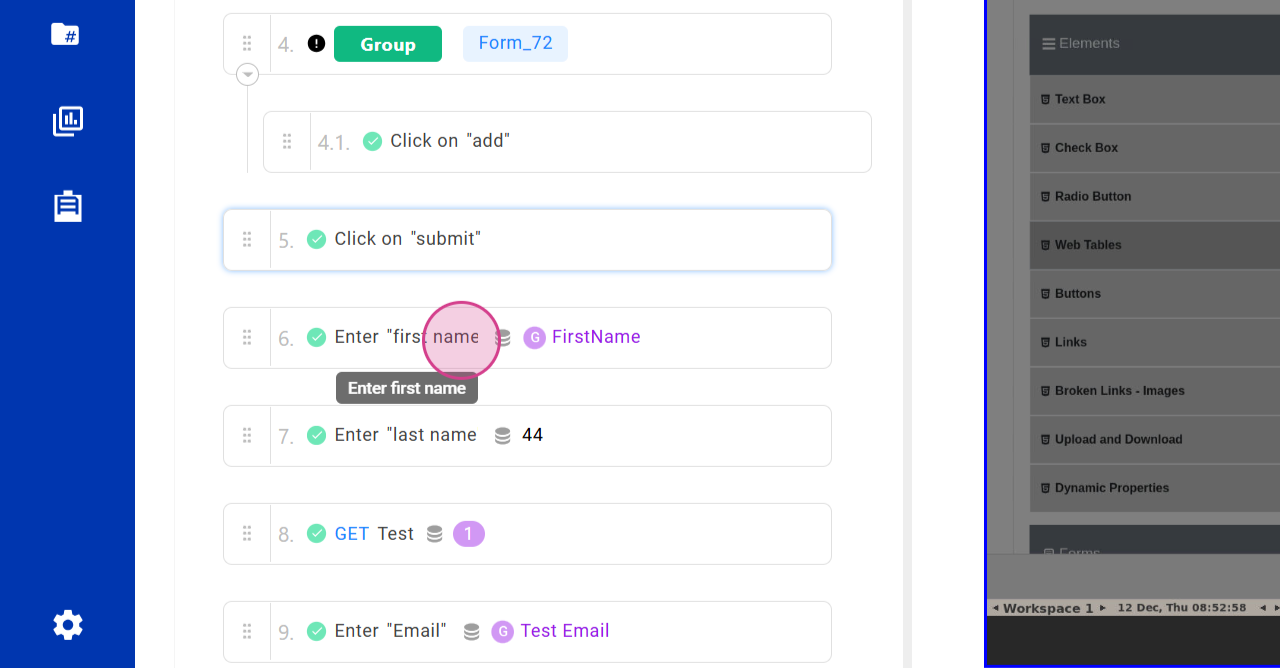
Step 6: Move Steps into the Group
Once the group is created, hover over the steps and click on the arrow mark to move the steps into the group.
Alternatively, select multiple steps,
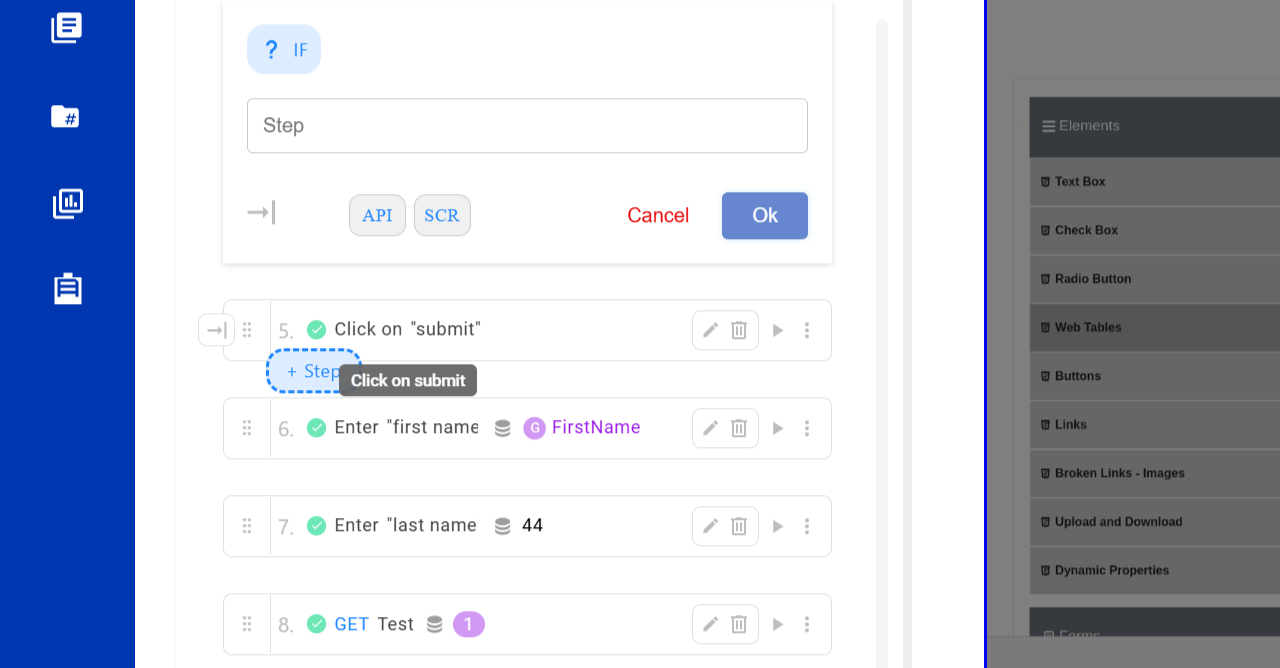
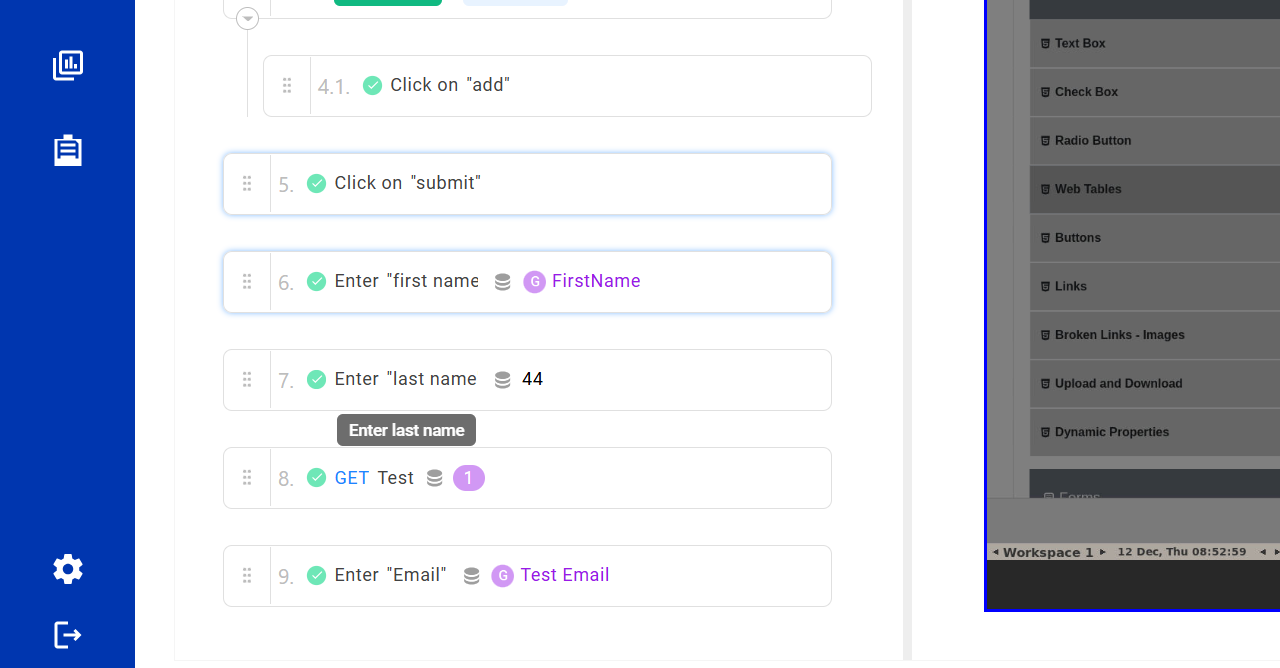
press Control + C to copy all the test case steps, click on the desired test step, and press Control + V to paste all the steps into the group.
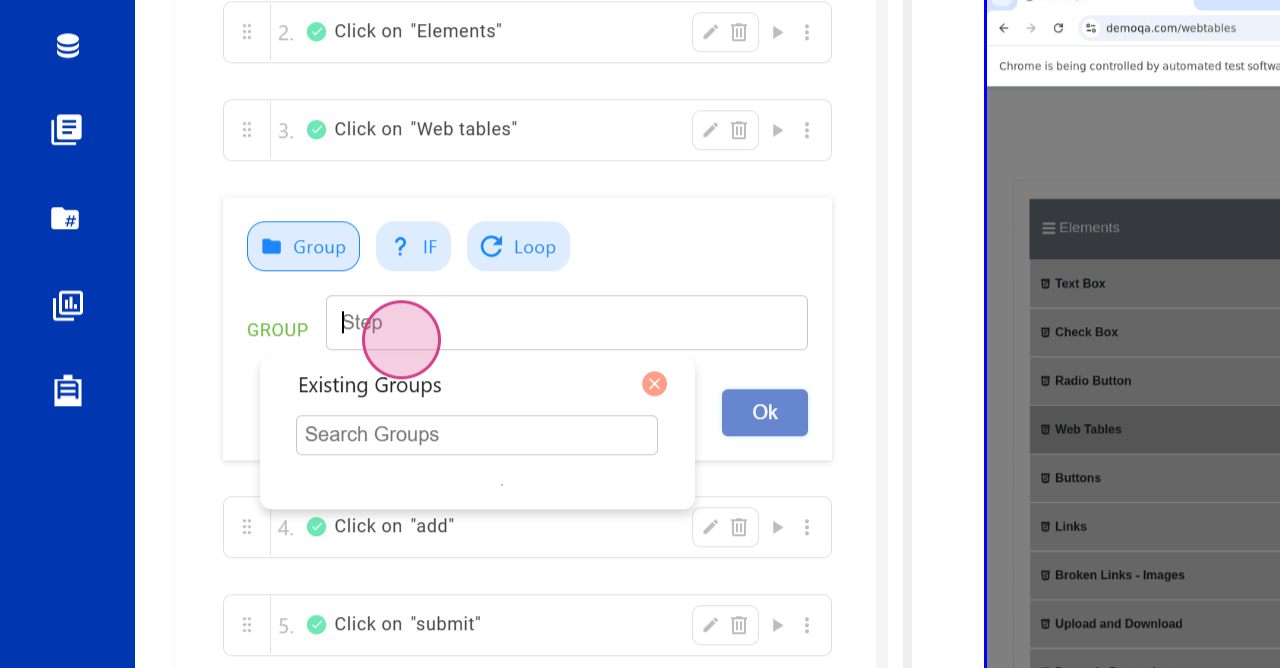
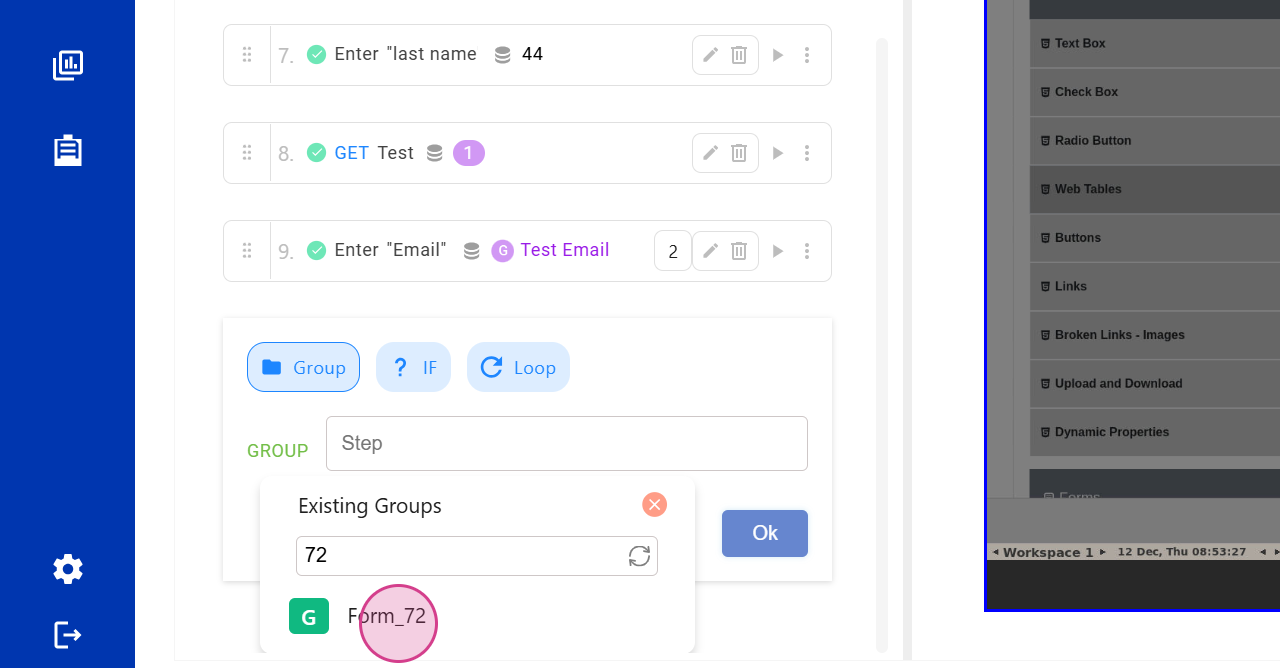
Step 7: Reuse the Group in a Different Test Case
To reuse a group in a different test case or even within the same test case, click on the group icon,
click on the group step,
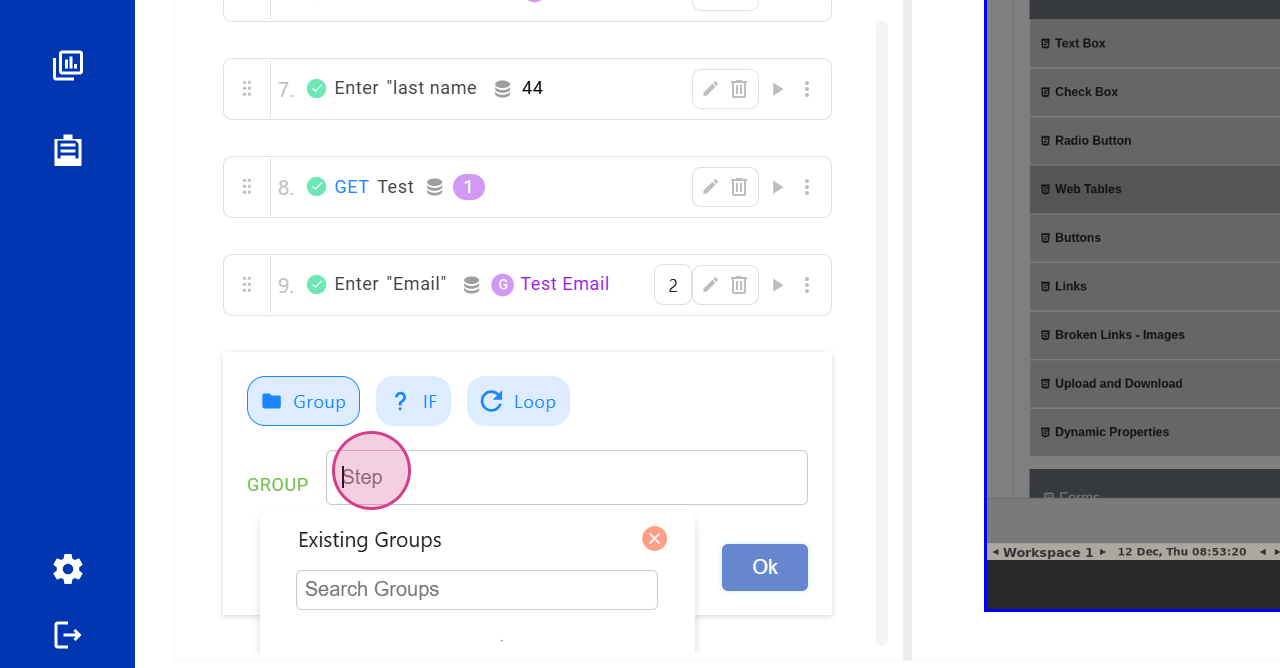
search for the group names, click on the desired group name,

and all the steps from the previous group will be created automatically.
You can repeat this process in other test cases as well.
Conclusion�
By following these steps, you've successfully created and reused a group within Botkits, streamlining your testing process.