Create and Manage Data in the Data Section
In this article, you'll learn how to create and manage data in the data section of your planning tool.
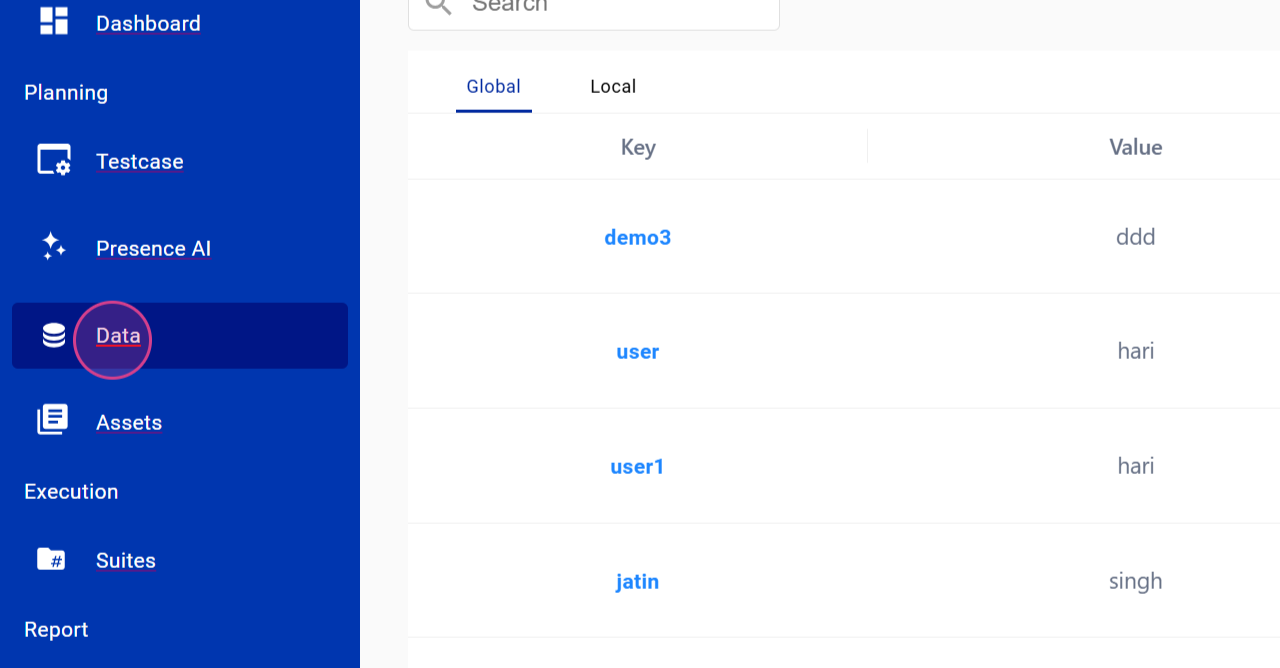
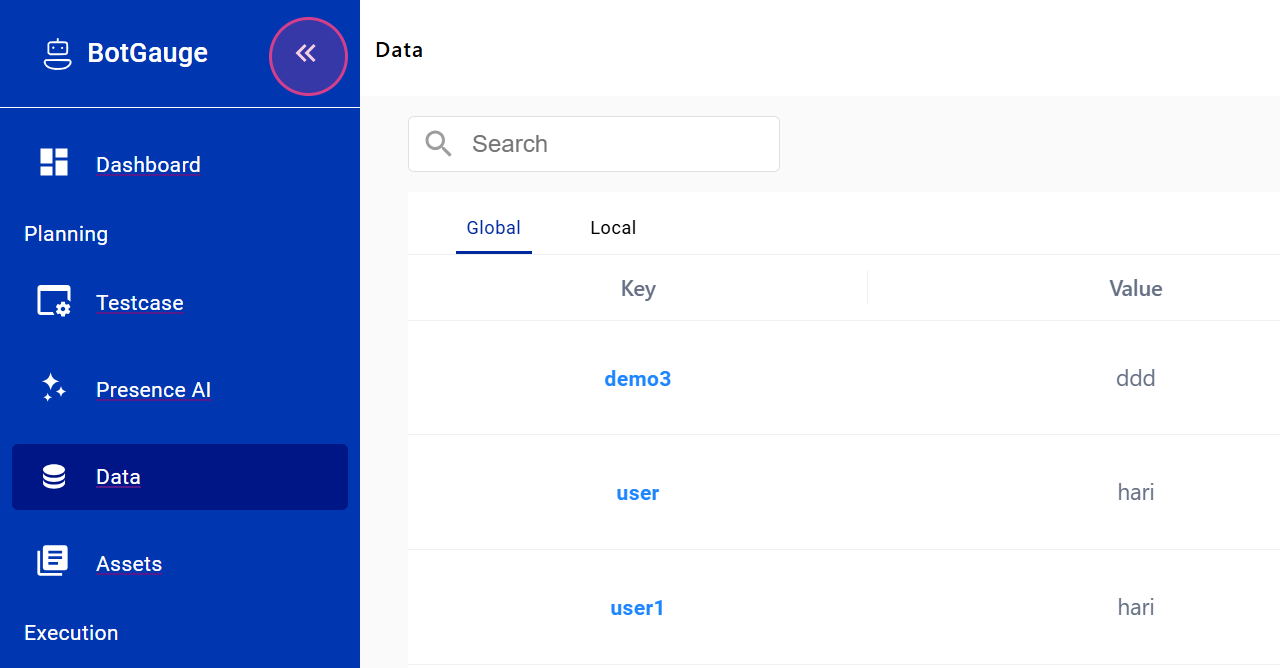
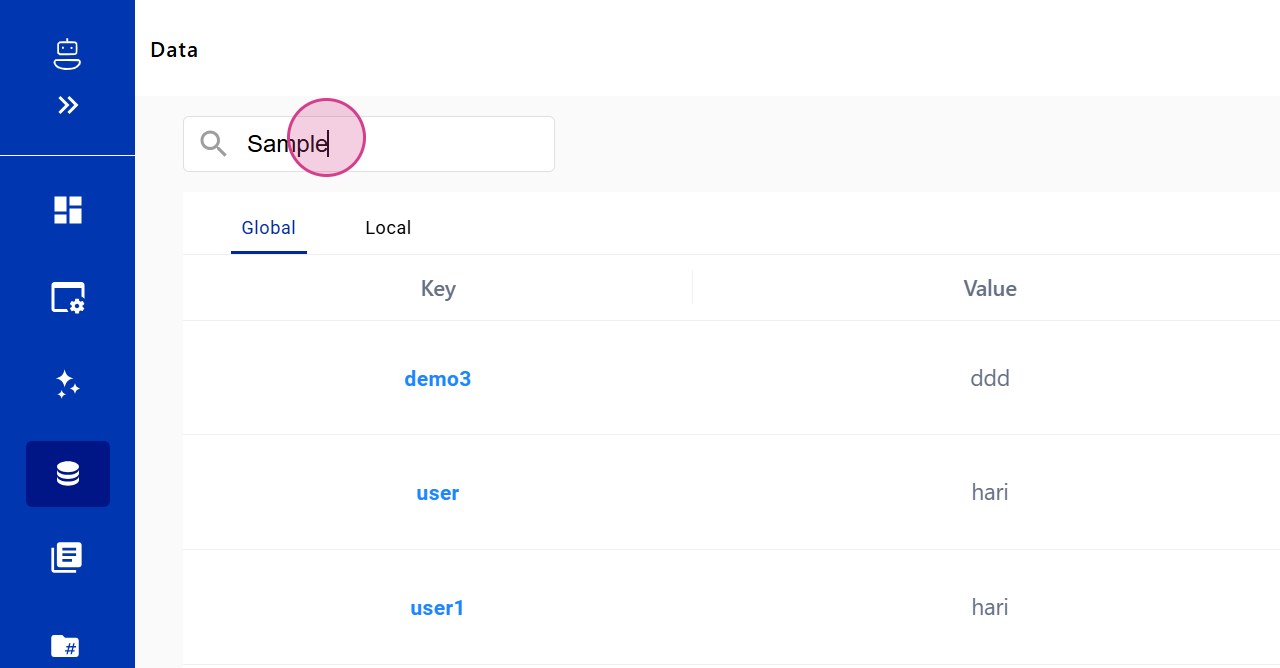
Step 1: Navigate to the Data Section Under Planning
Navigate to the Data section under Planning.
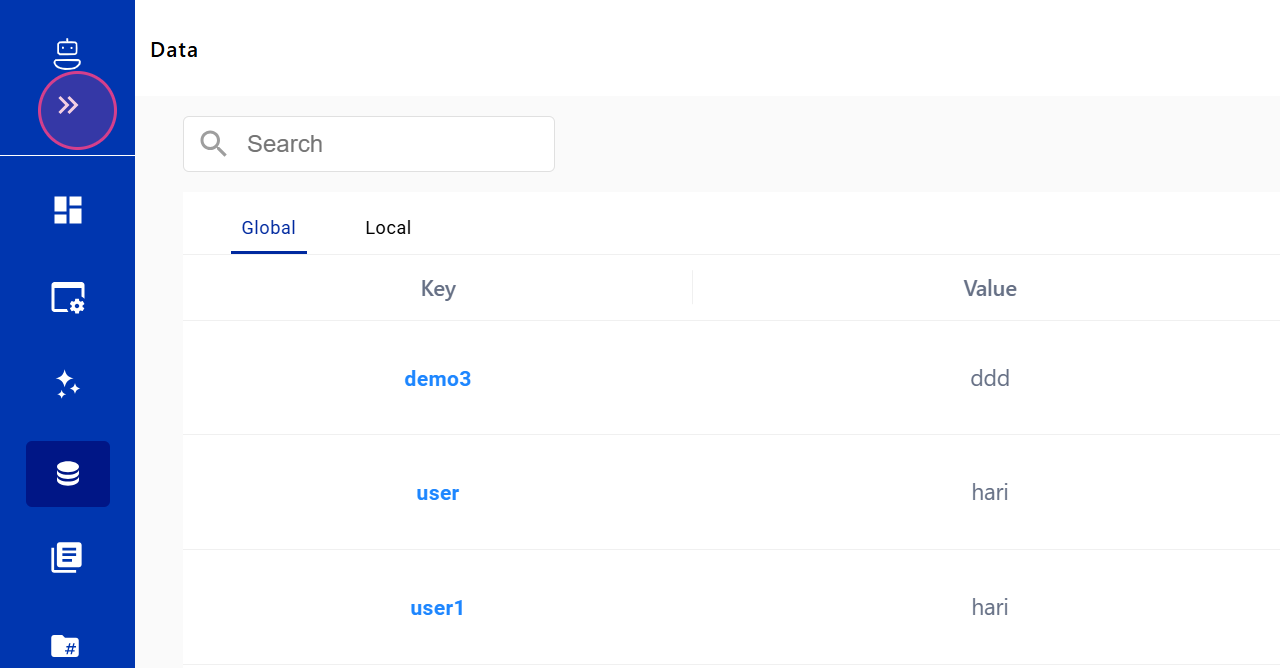
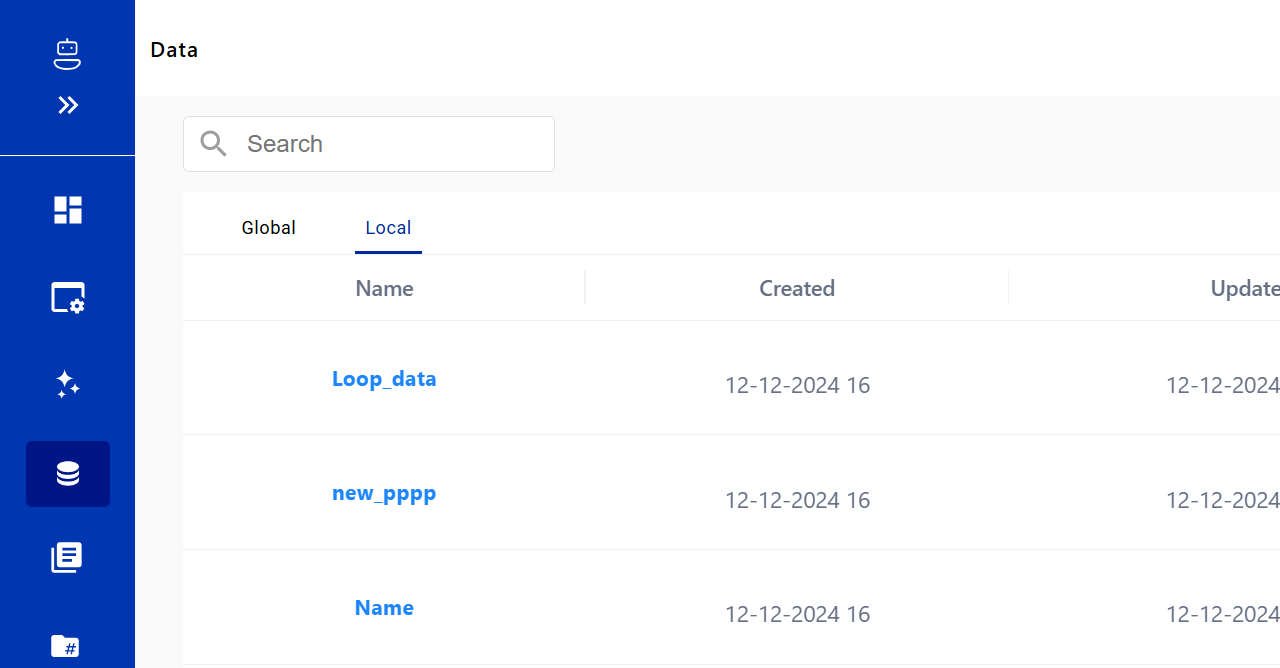
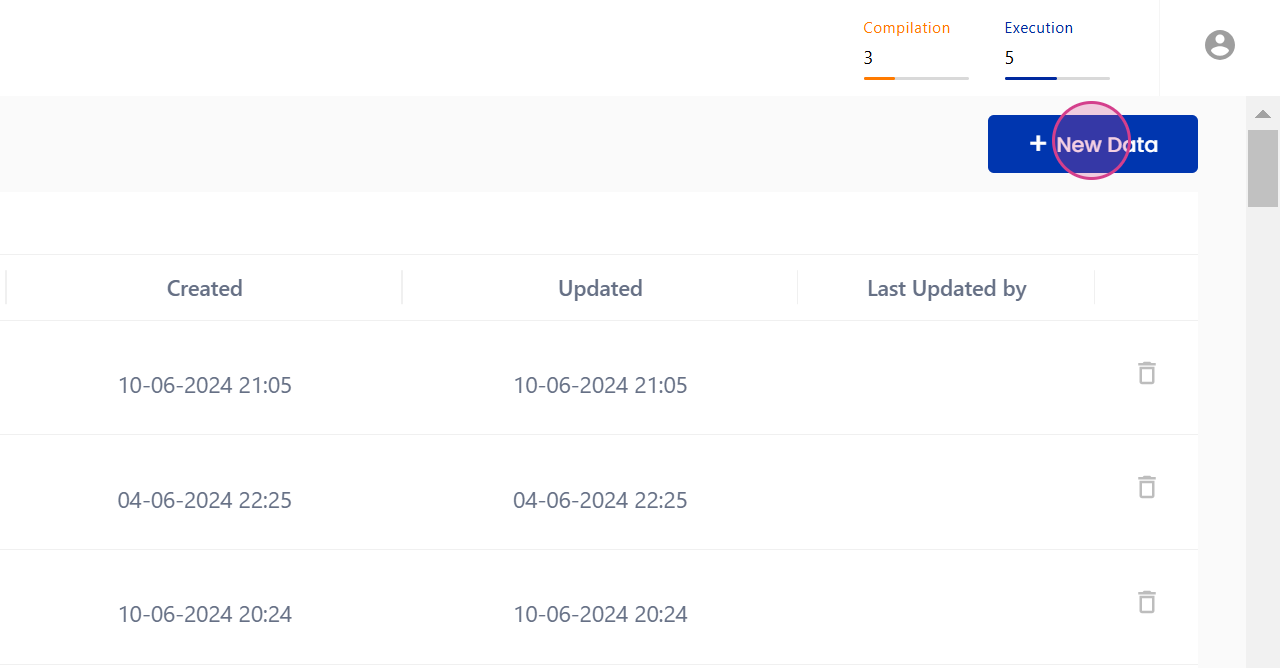
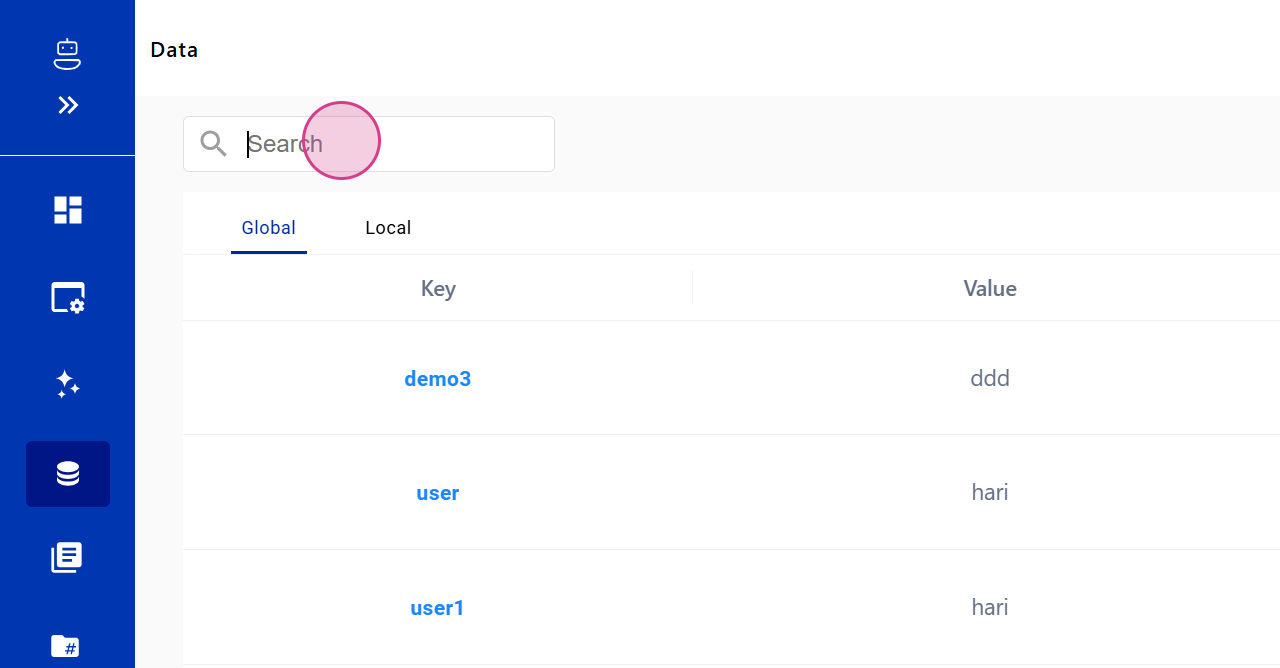
Step 2: View All the Data Sets Created
Here, you'll see all the data sets that have been created.
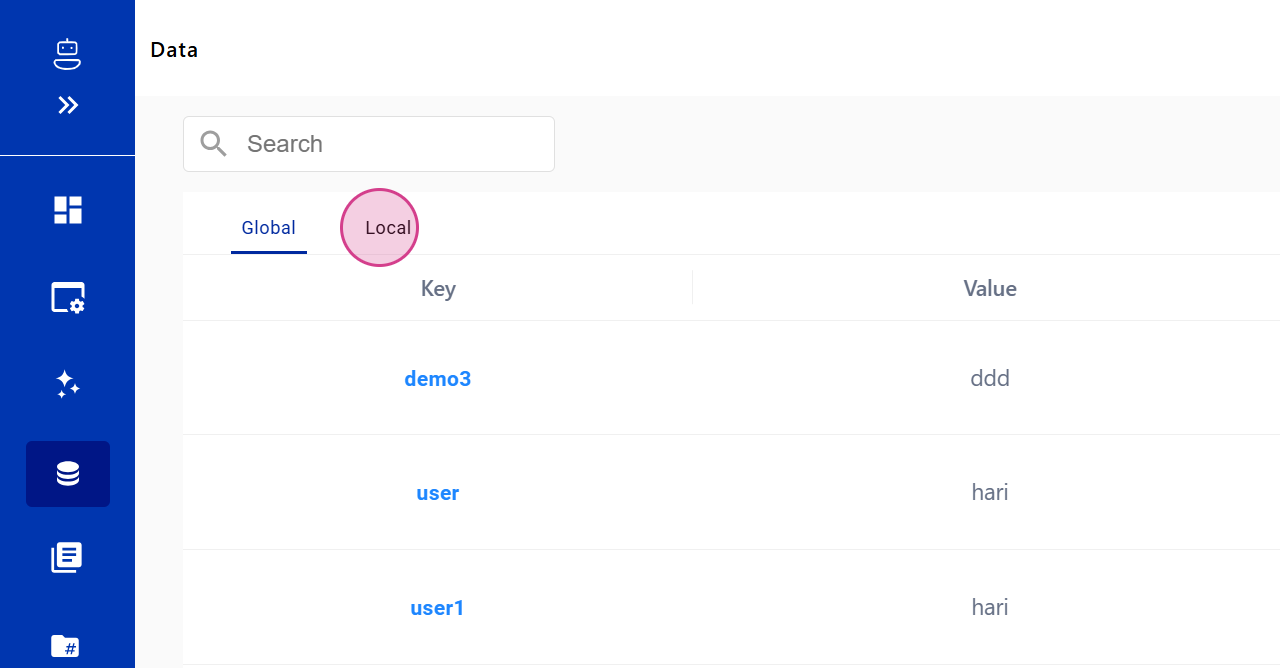
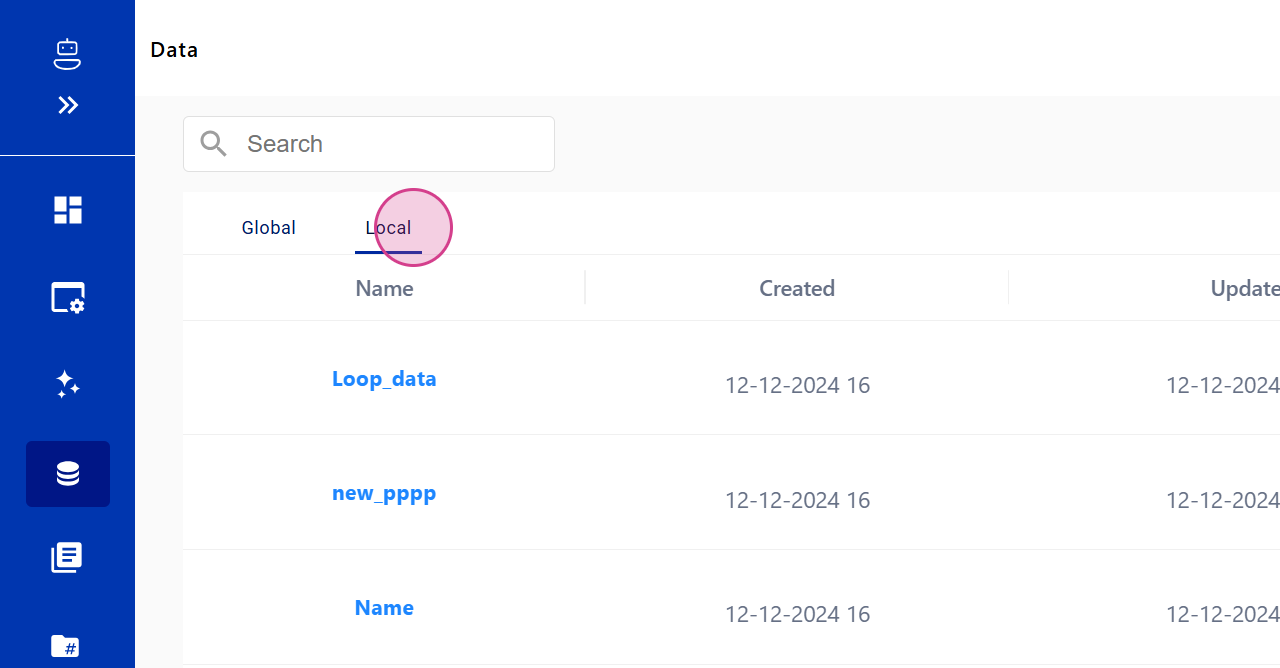
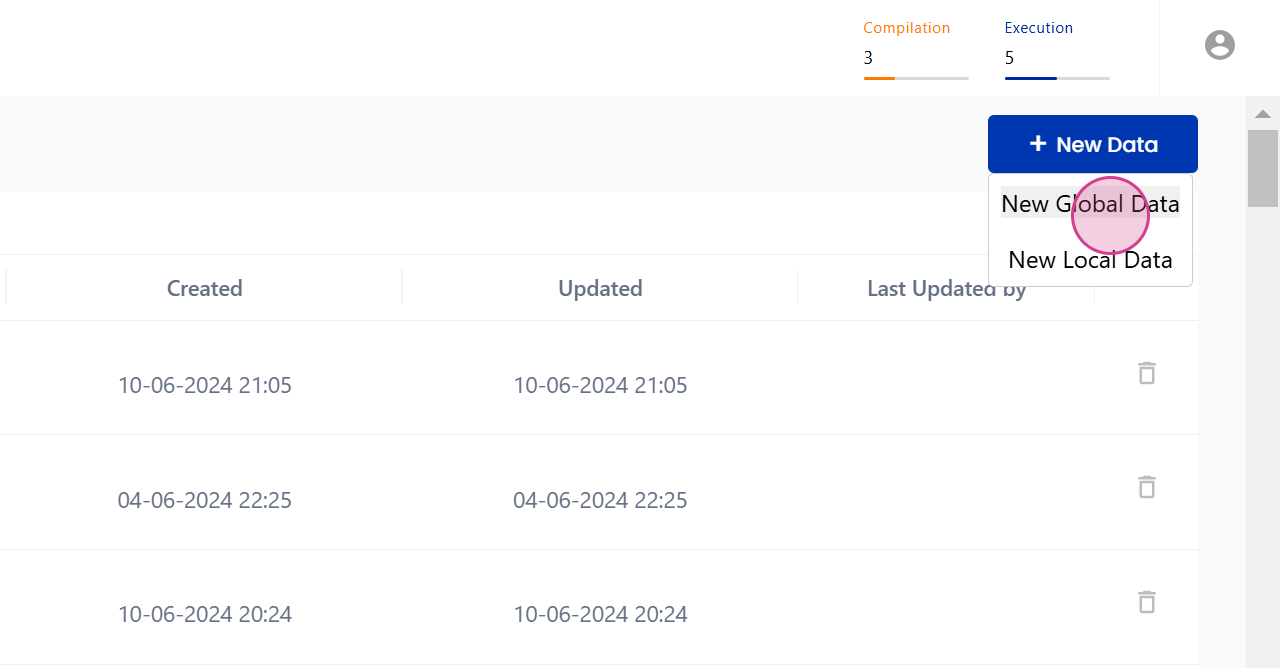
Step 3: Understand the Two Types of Data Sets
Notice there are two types of data sets: Global Data and Local Data.
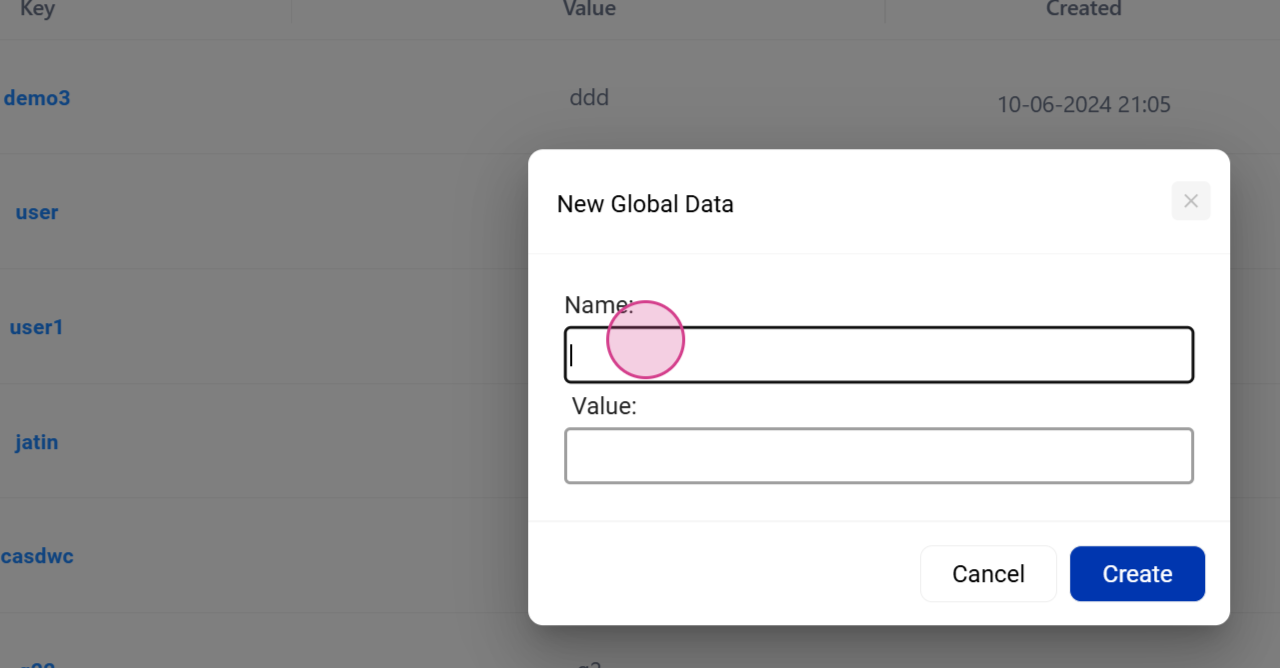
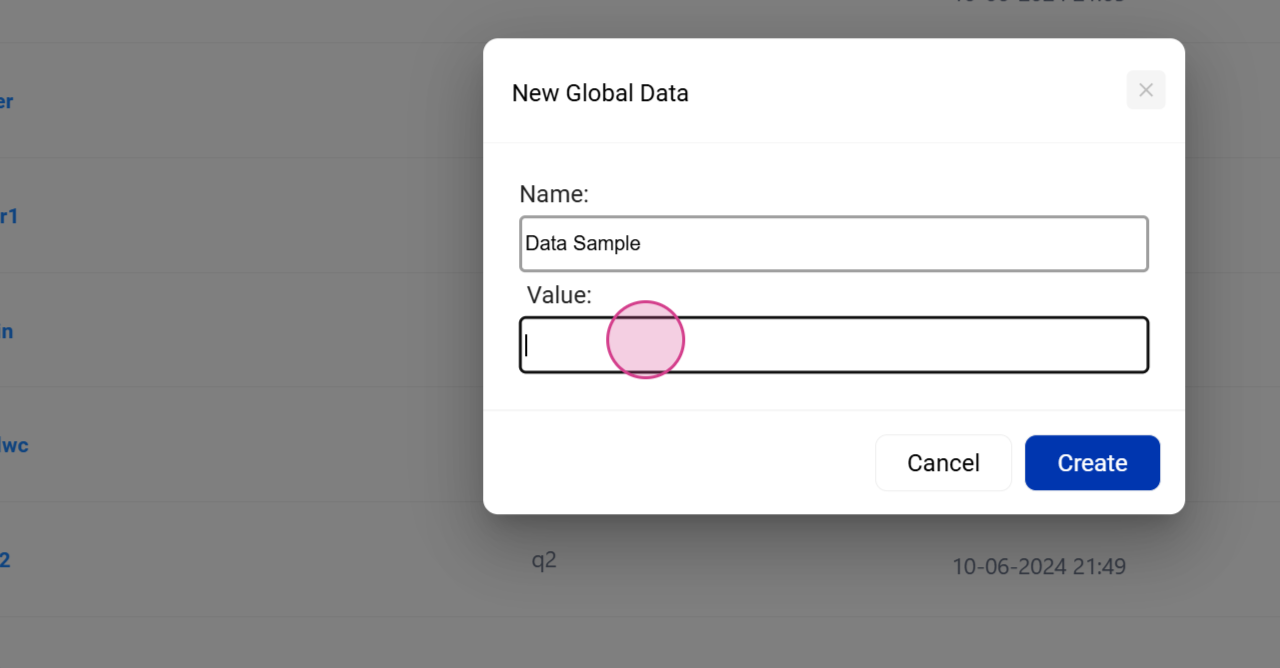
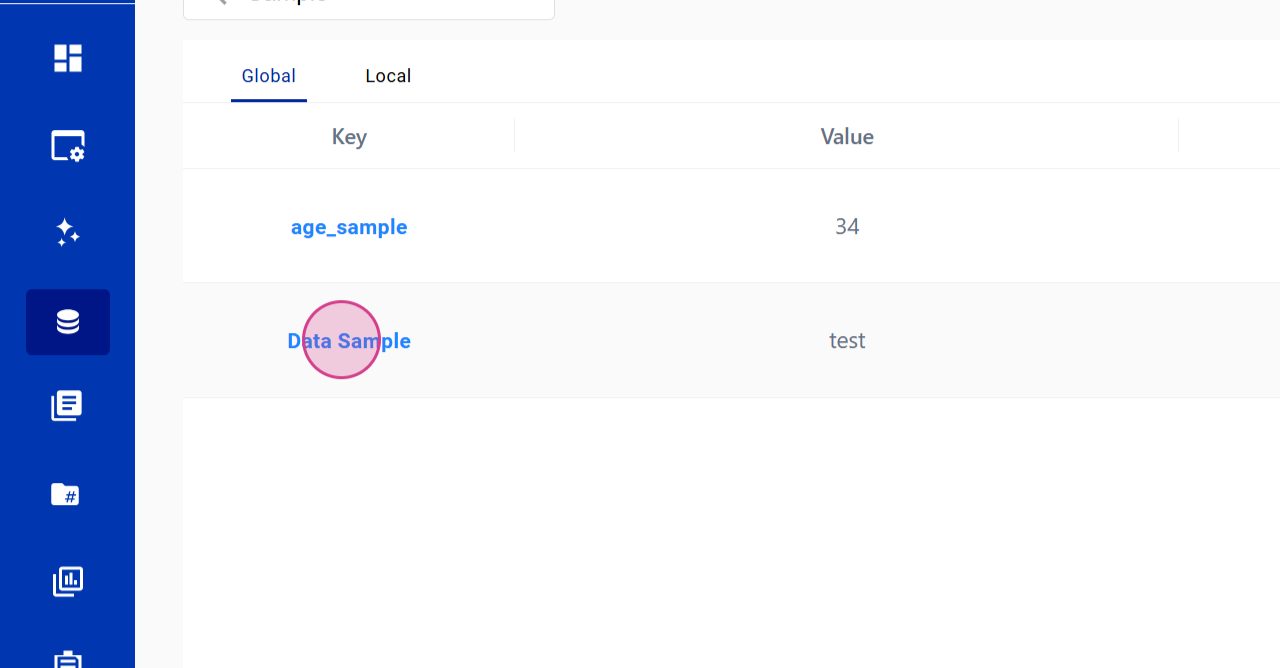
Step 4: Global Data – Key-Value Pair
Global Data is a key-value pair, allowing you to create a value against a specific name.
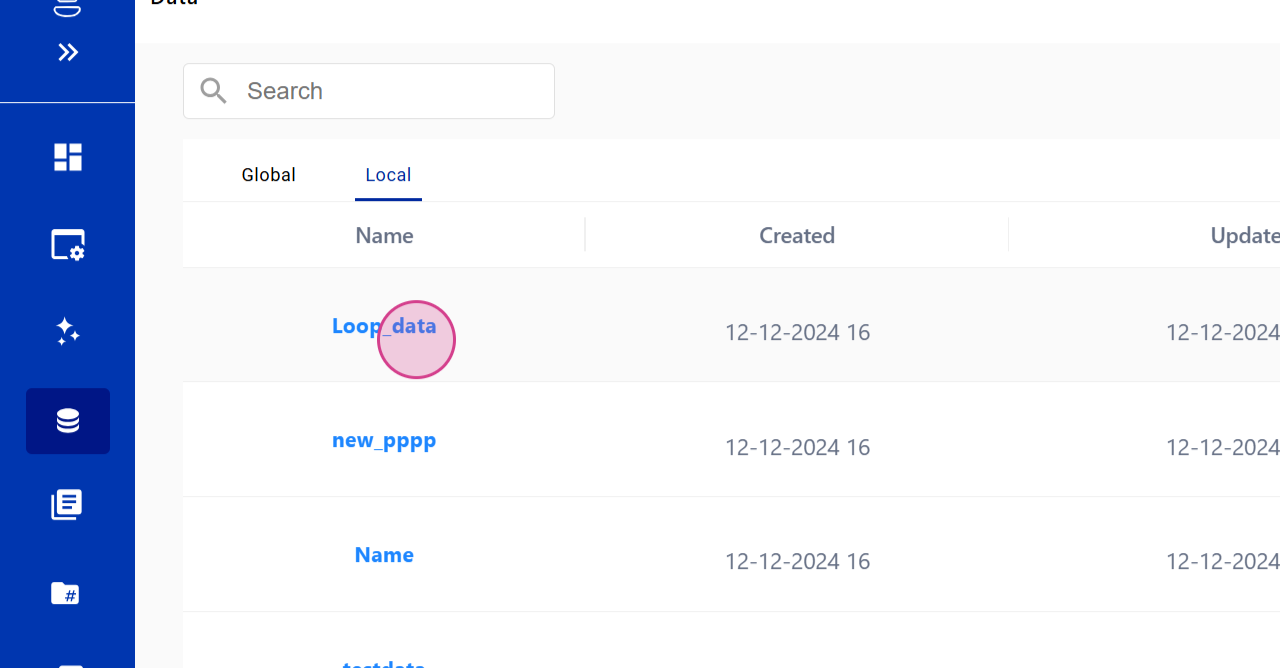
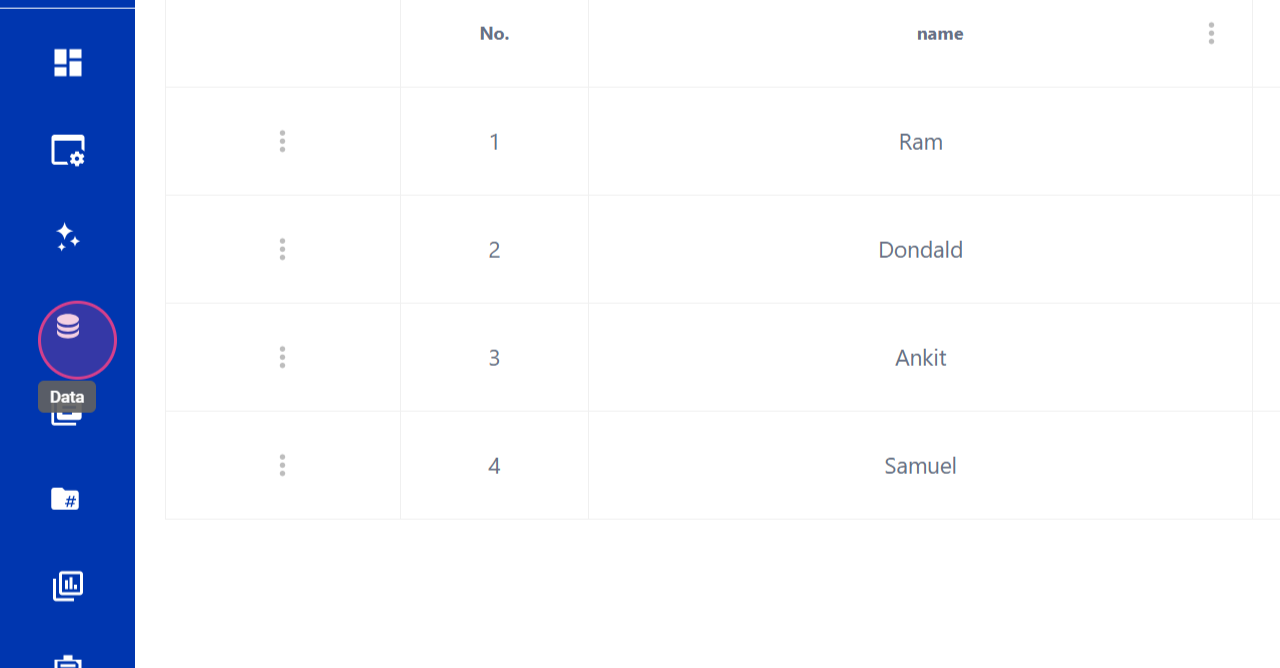
Step 5: Local Data – Excel File
Local Data, on the other hand, is an Excel file.
Step 6: Create a New Data Set
To create a new data set, click on New Data in the Data section.
Step 7: Choose Between Global or Local Data
Choose whether to create a new Global Data or Local Data set.
Step 8: Provide a Name for Global Data
For Global Data, you'll need to provide a name.
Step 9: Enter a Sample Value and Click on Create
Enter a sample value and click on Create.

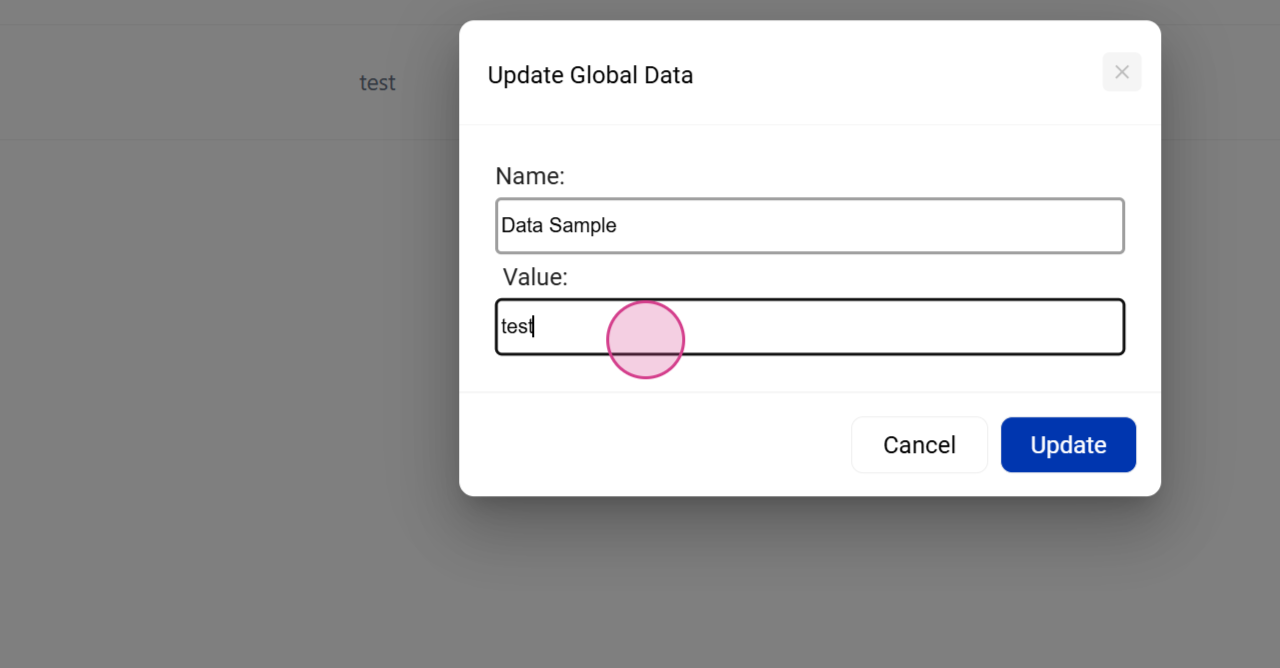
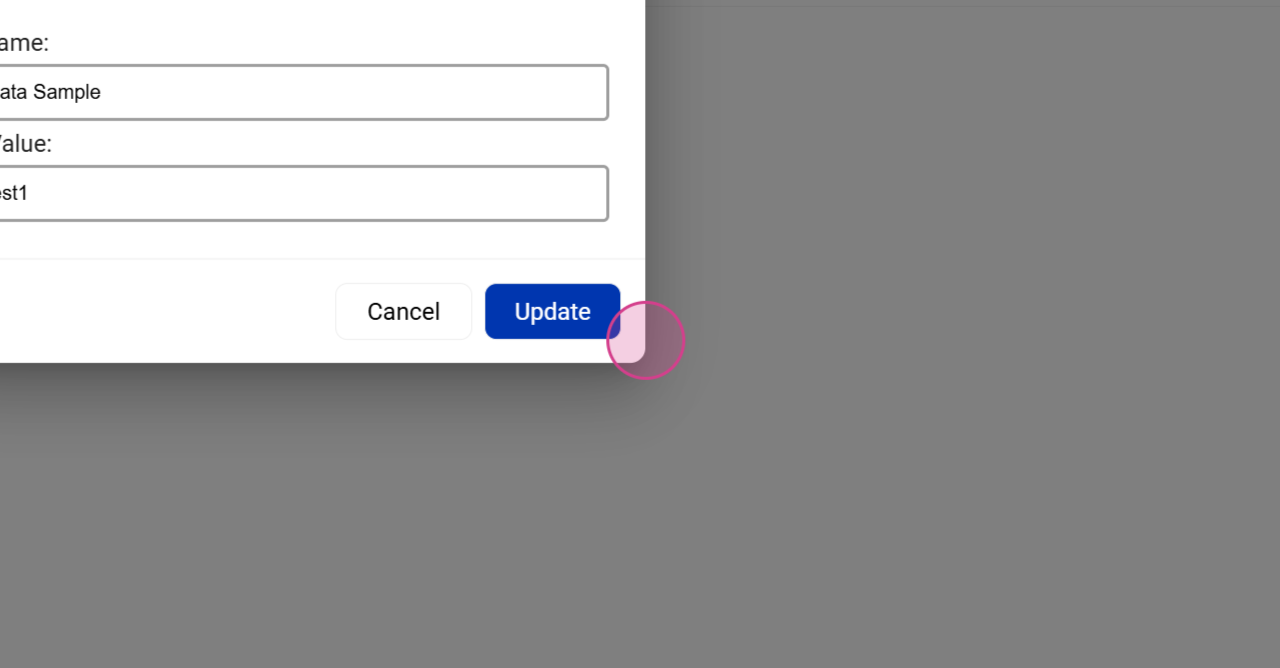
Step 10: Edit a Data Set
To edit a data set, simply click on it, make your changes, and click on Update.
Conclusion
By following these steps, you'll be able to create and manage your data sets effectively.