Create and Execute a Test Suite
This article will guide you through the process of creating and executing a test suite using BotGauge. By the end of this tutorial, you'll know how to compile multiple test cases into a single suite and run them all at once.
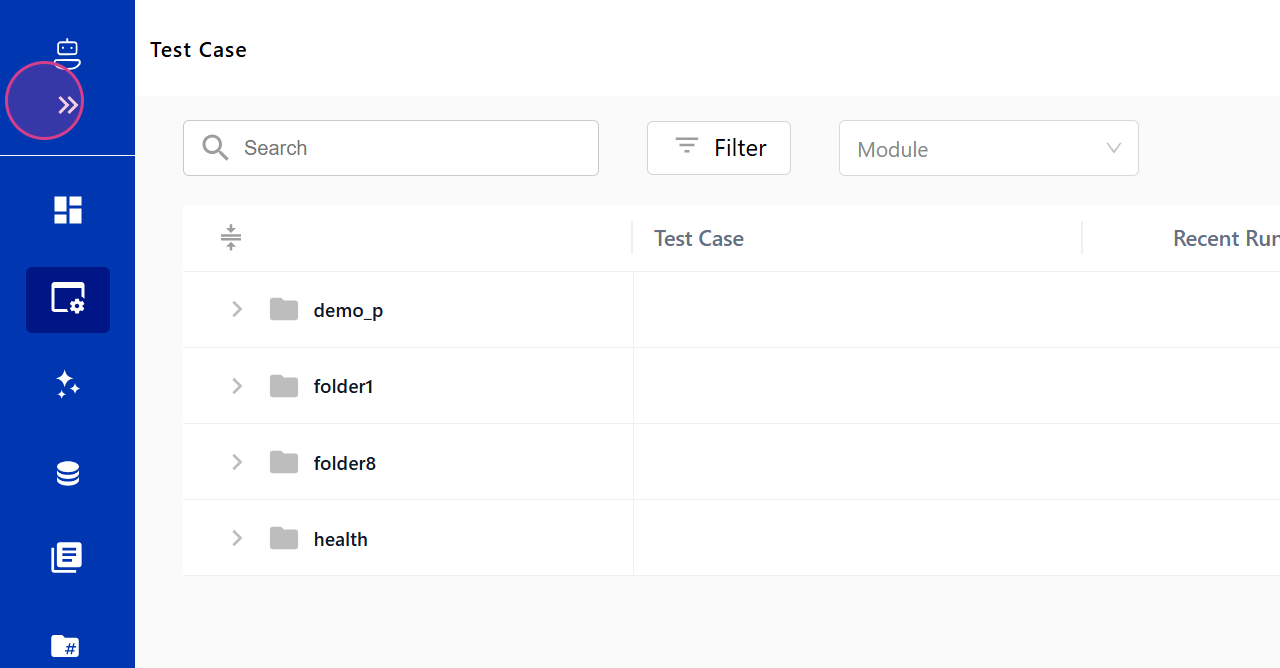
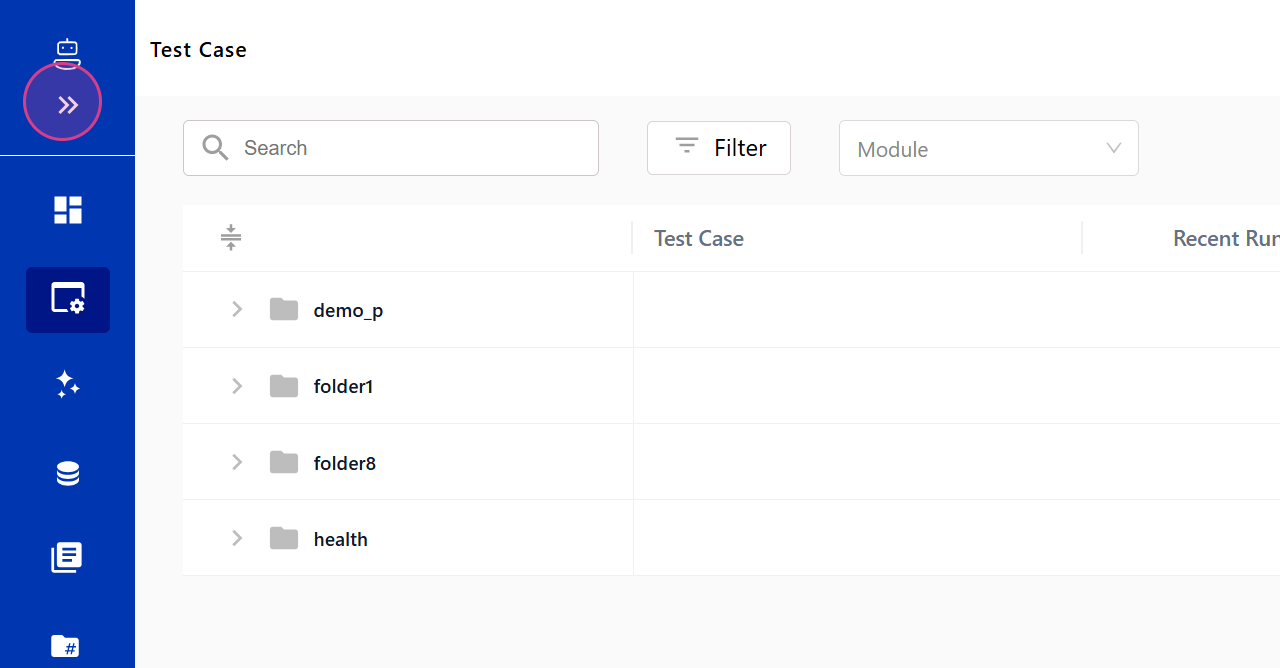
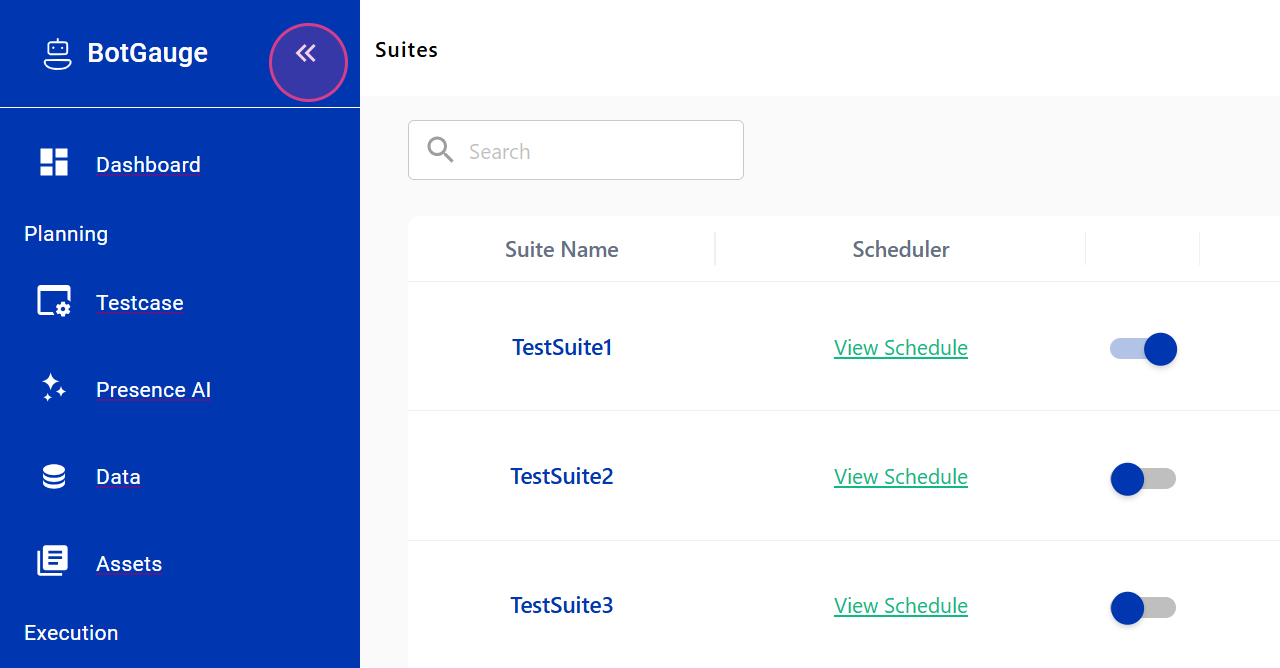
Step 1: Navigate to the Execution Section to Create a New Test Suite
Begin by navigating to the Execution section to create a new test suite.
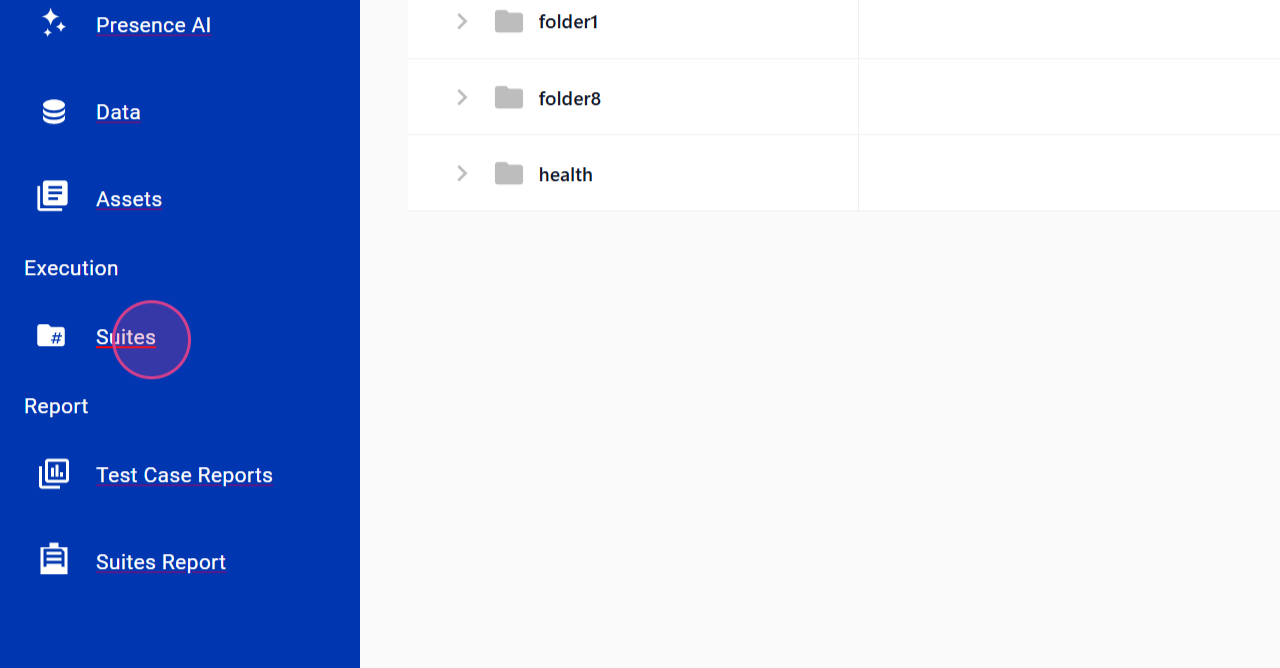
Step 2: Click on the Suite Option
Click on the Suite option.
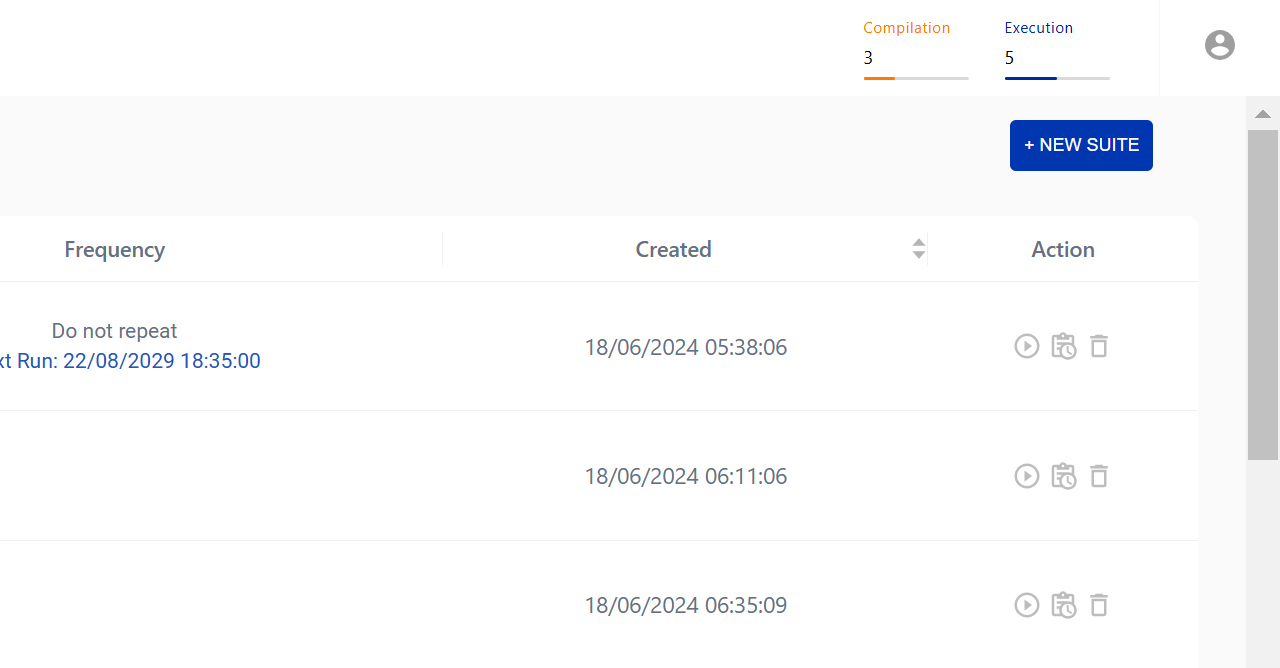
Step 3: Click on the New Suite Icon
Click on the New Suite icon.
Step 4: Input a Name for Your Suite
Input a name for your suite.
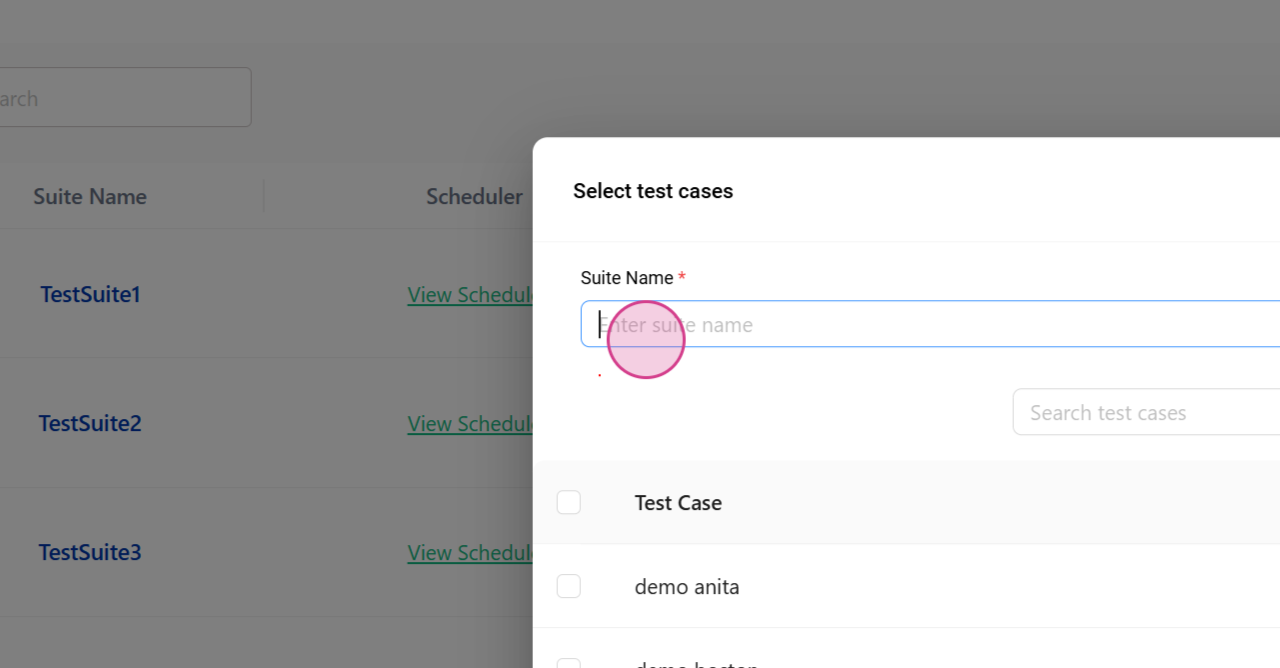
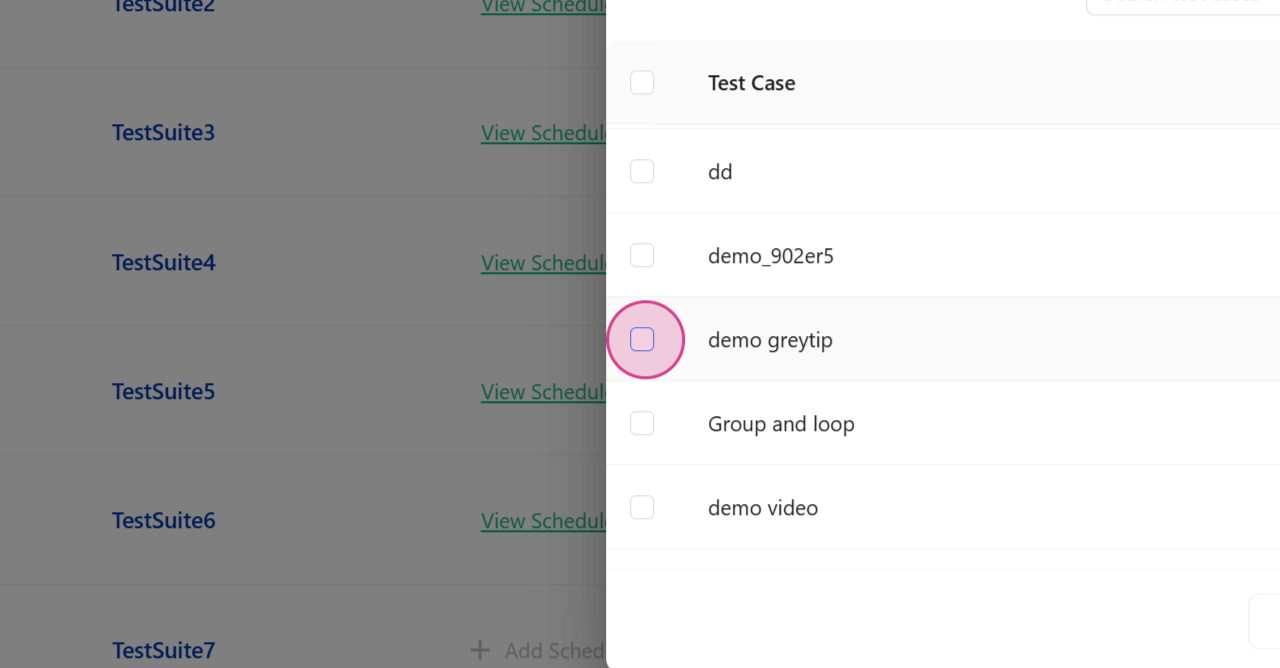
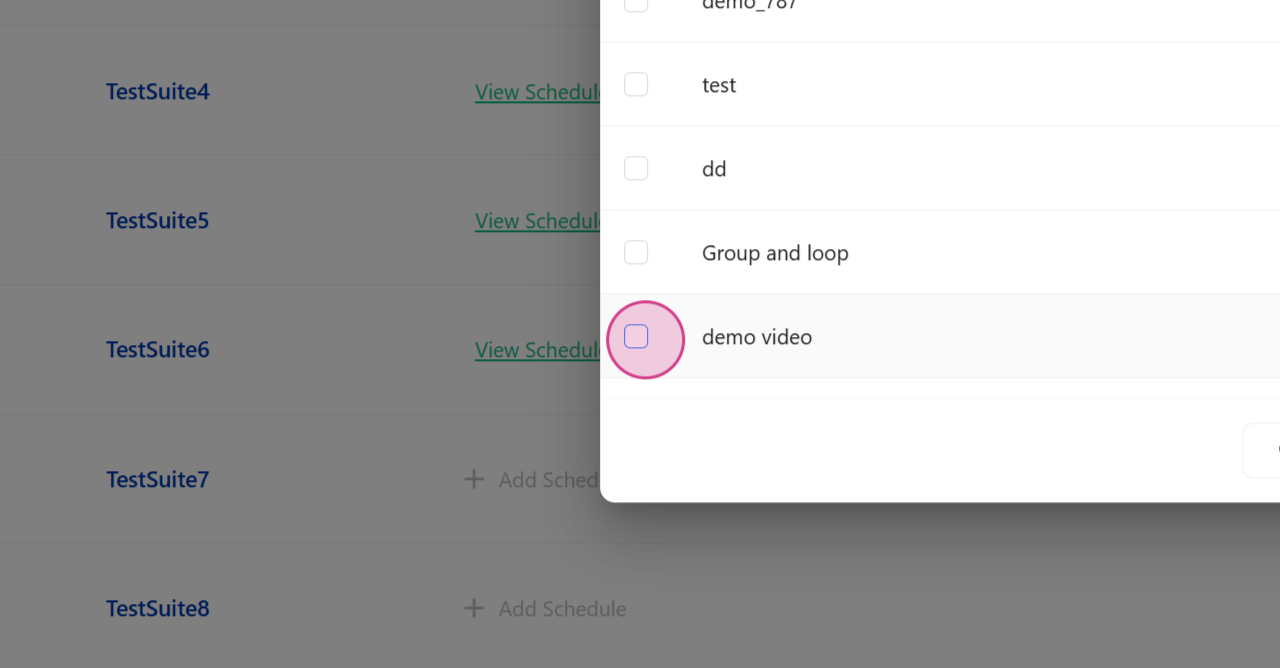
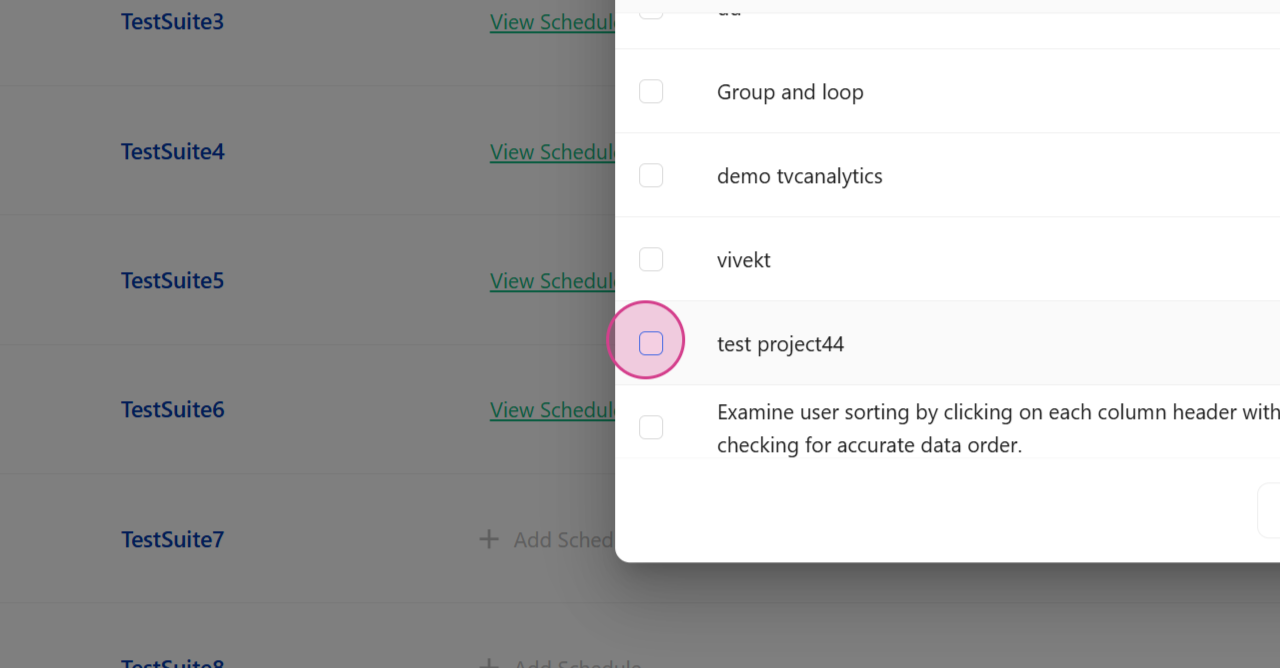
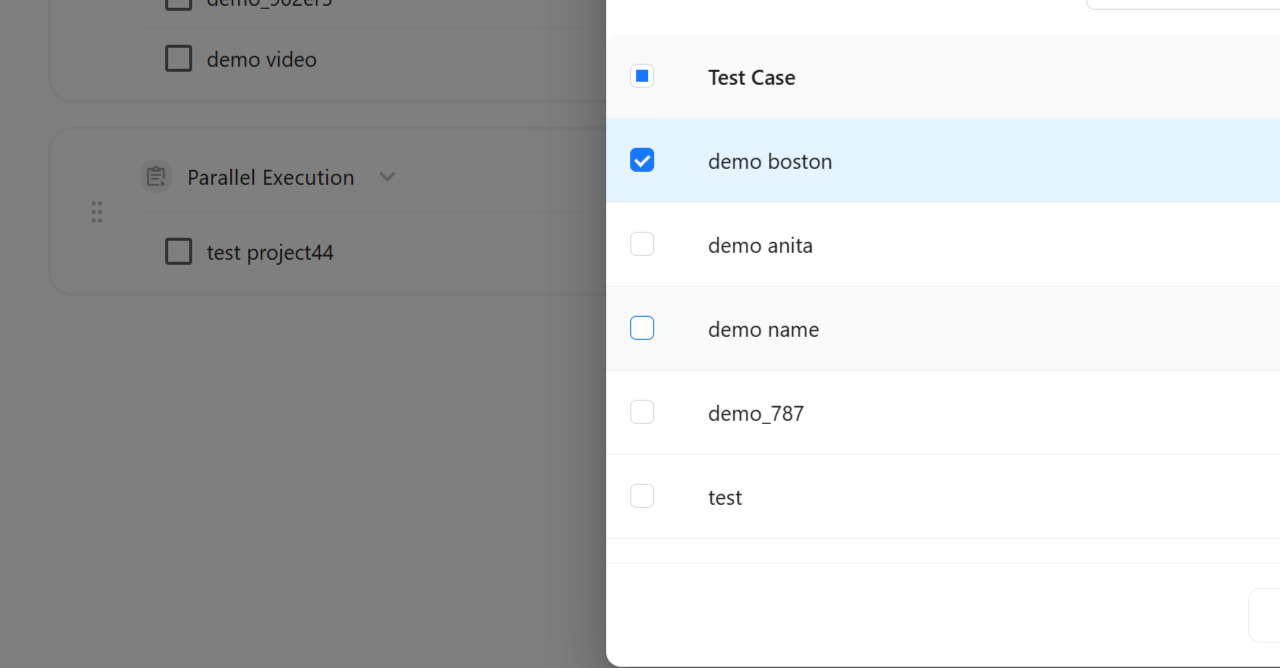
Step 5: Select the Test Cases You Want to Include in Your Suite
Select the test cases you want to include in your suite.

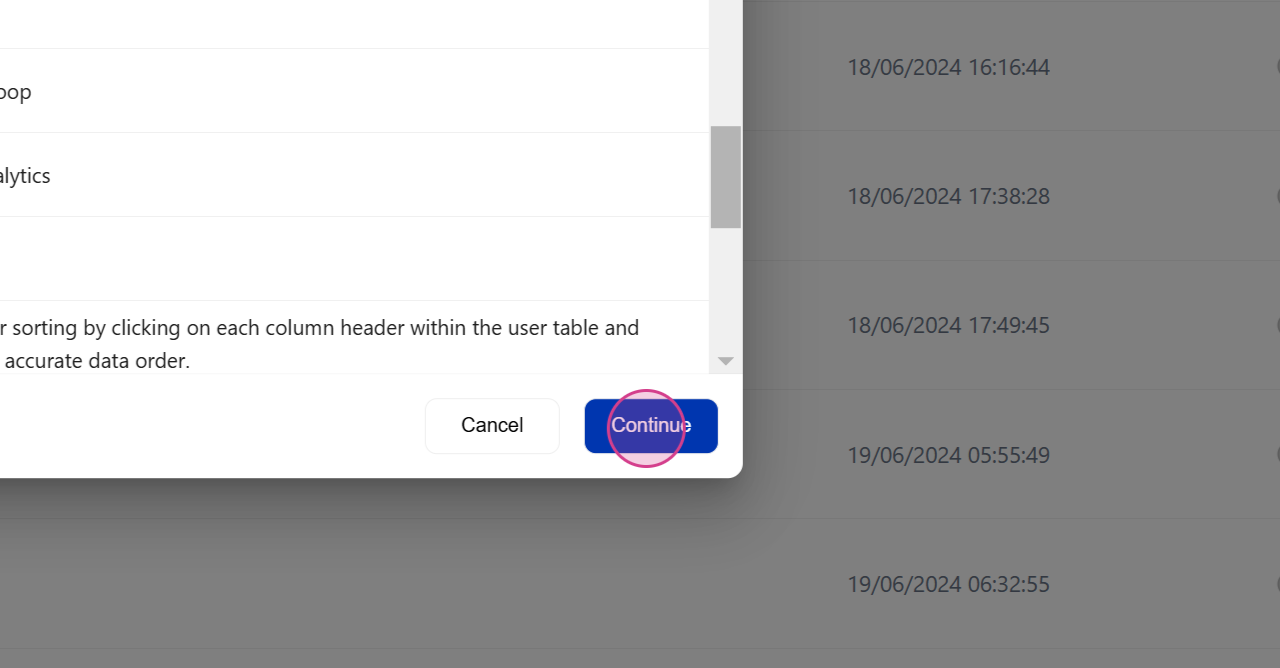
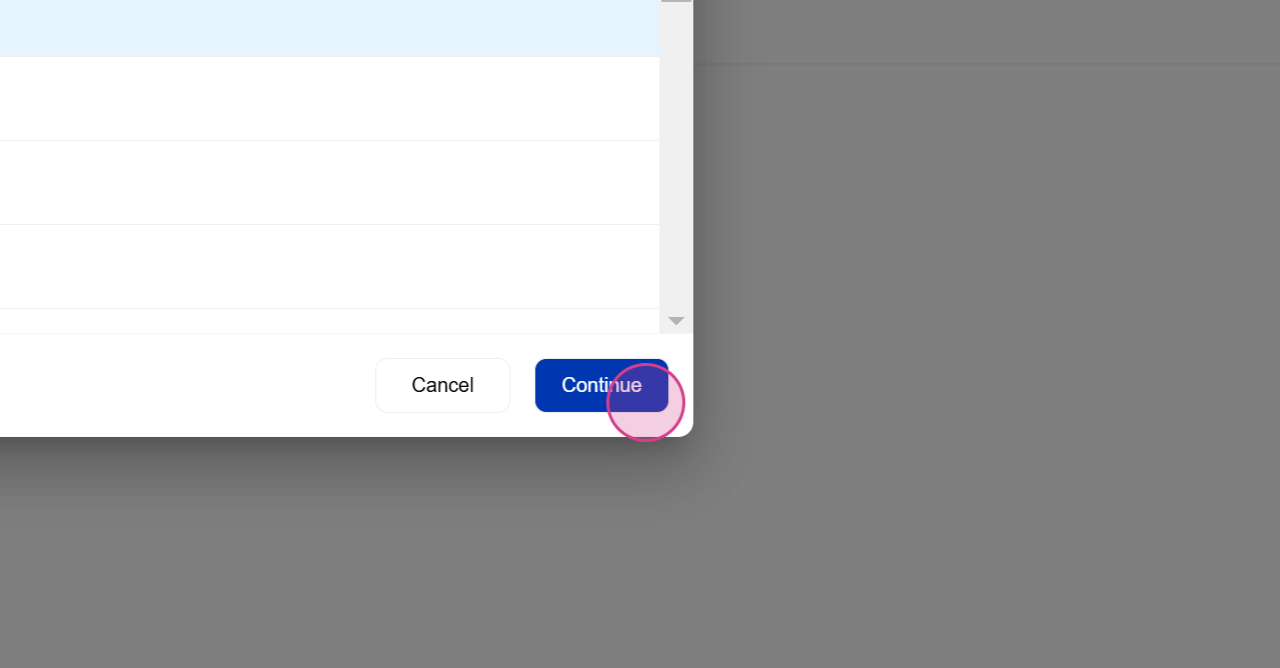
Step 6: Click on the Continue Button After Creating Your Test Case
After creating your test case, click on the Continue button.
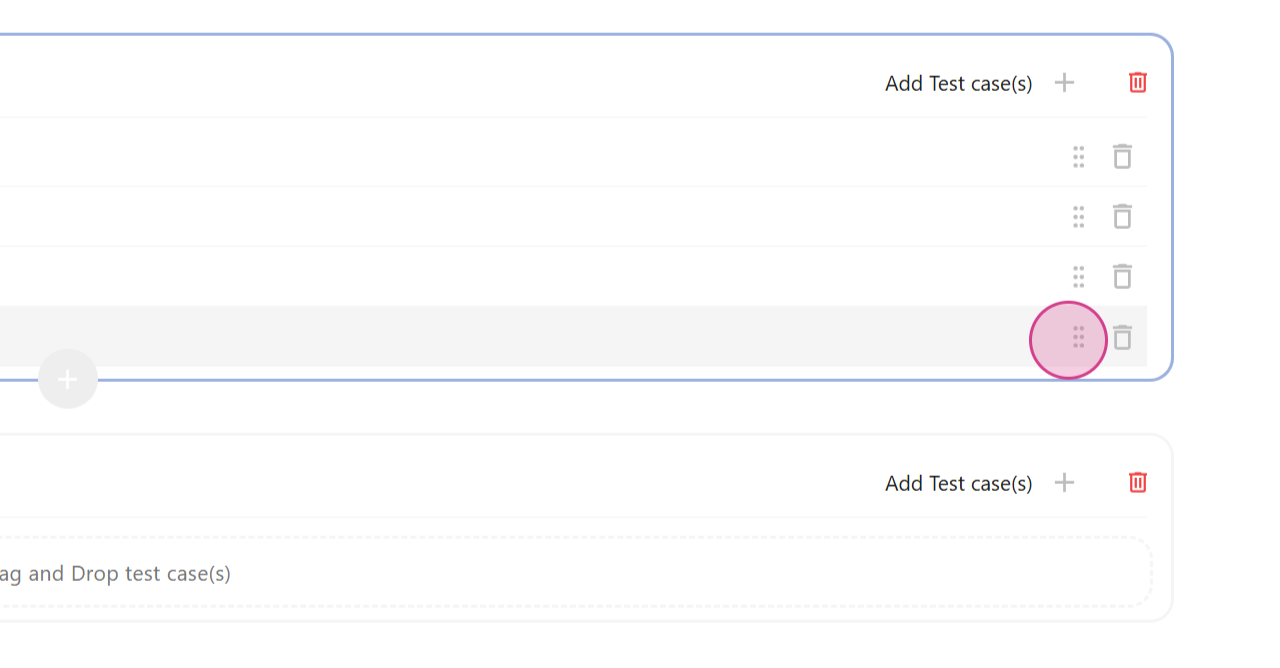
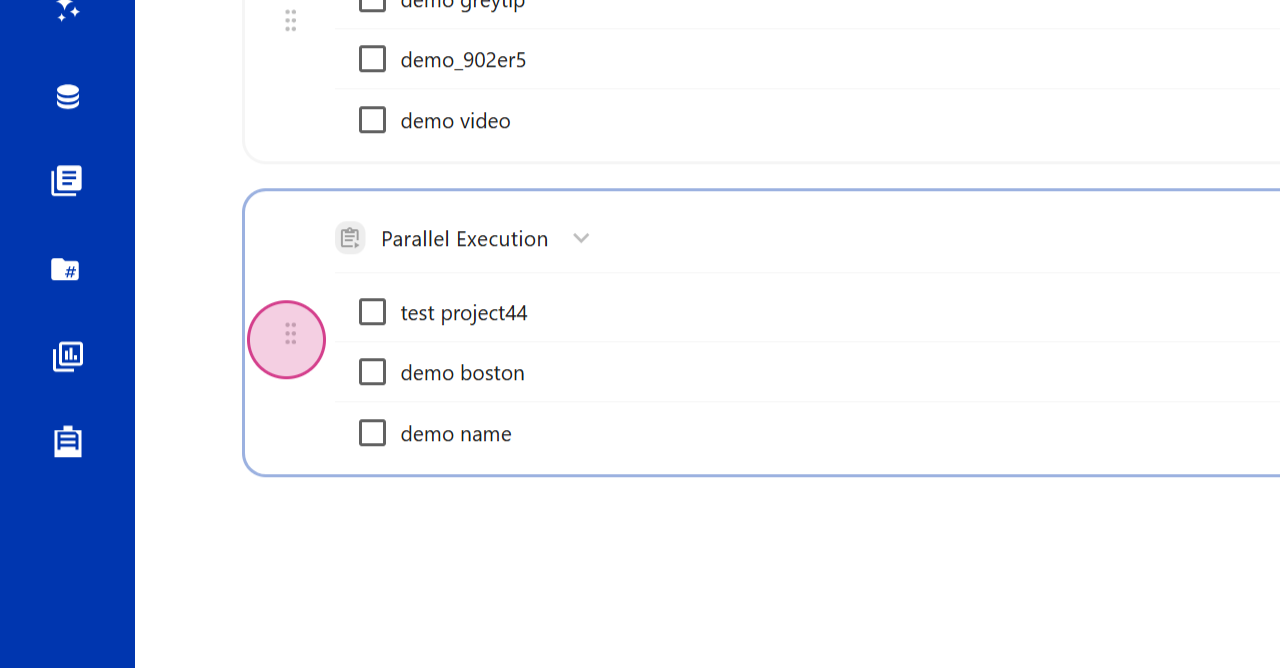
Step 7: Organize Your Test Cases Into Different Sections
Organize your test cases into different sections by clicking on the Plus icon. You can drag and drop test cases from one section to another.
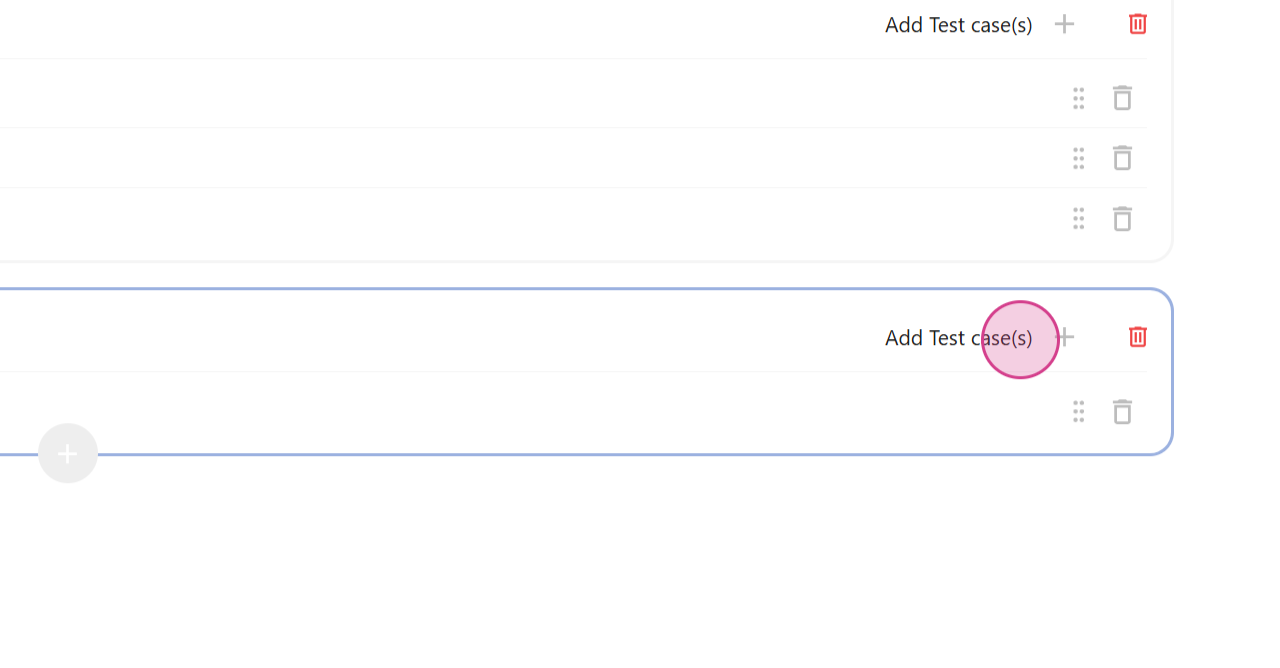
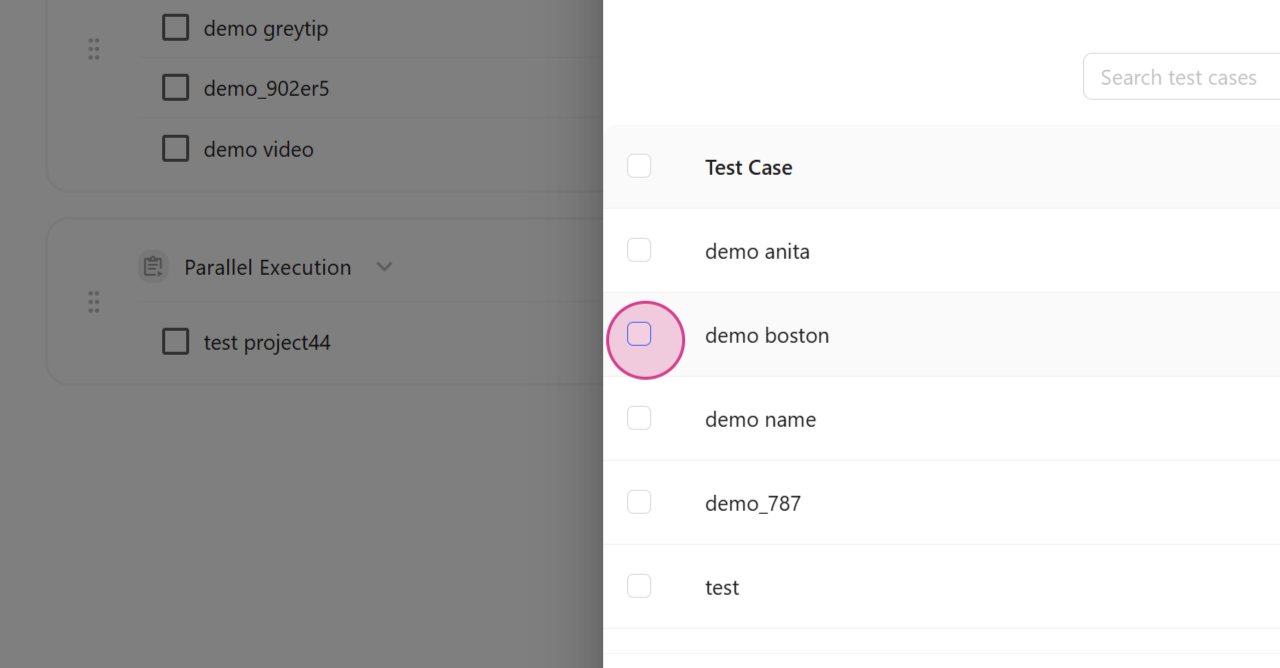
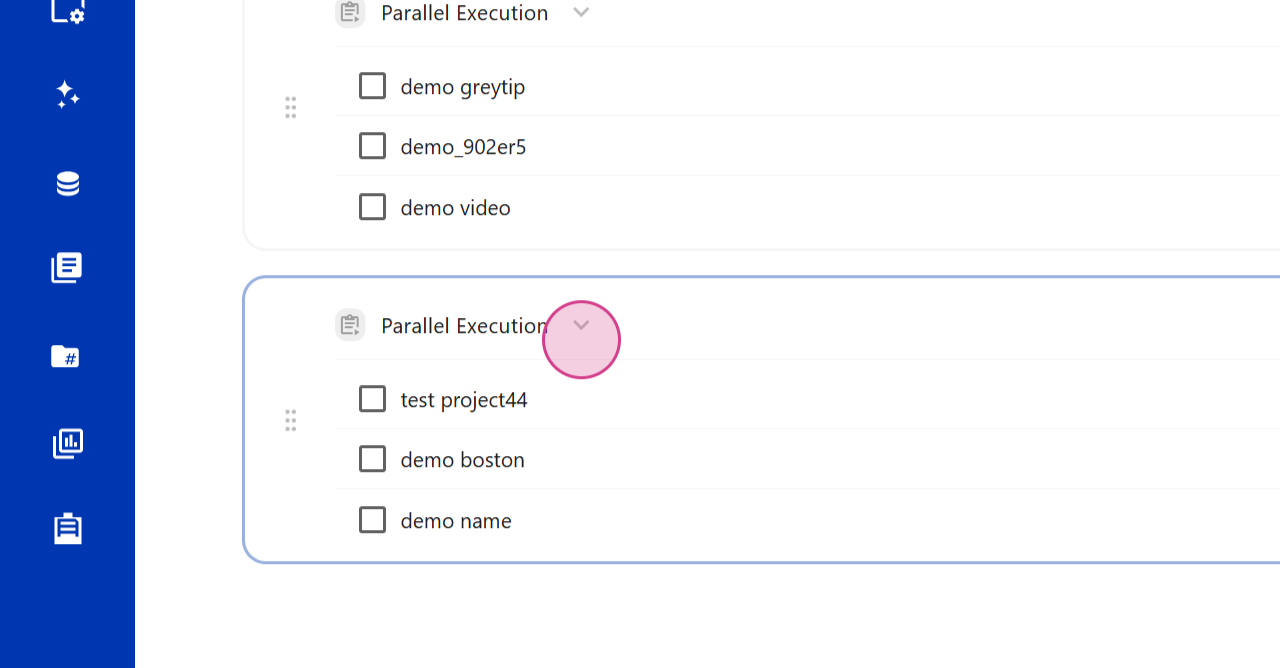
Step 8: Add More Test Cases to Your Suite
Add more test cases to your suite by clicking on the Plus icon and selecting from existing test cases.
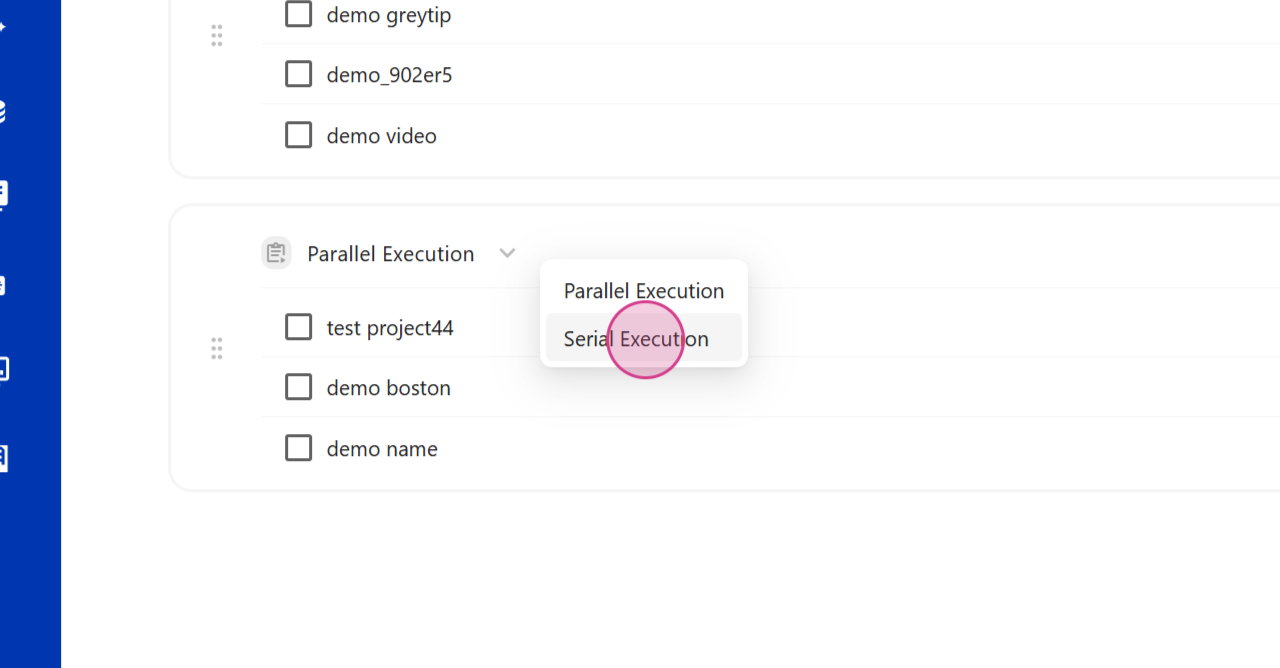
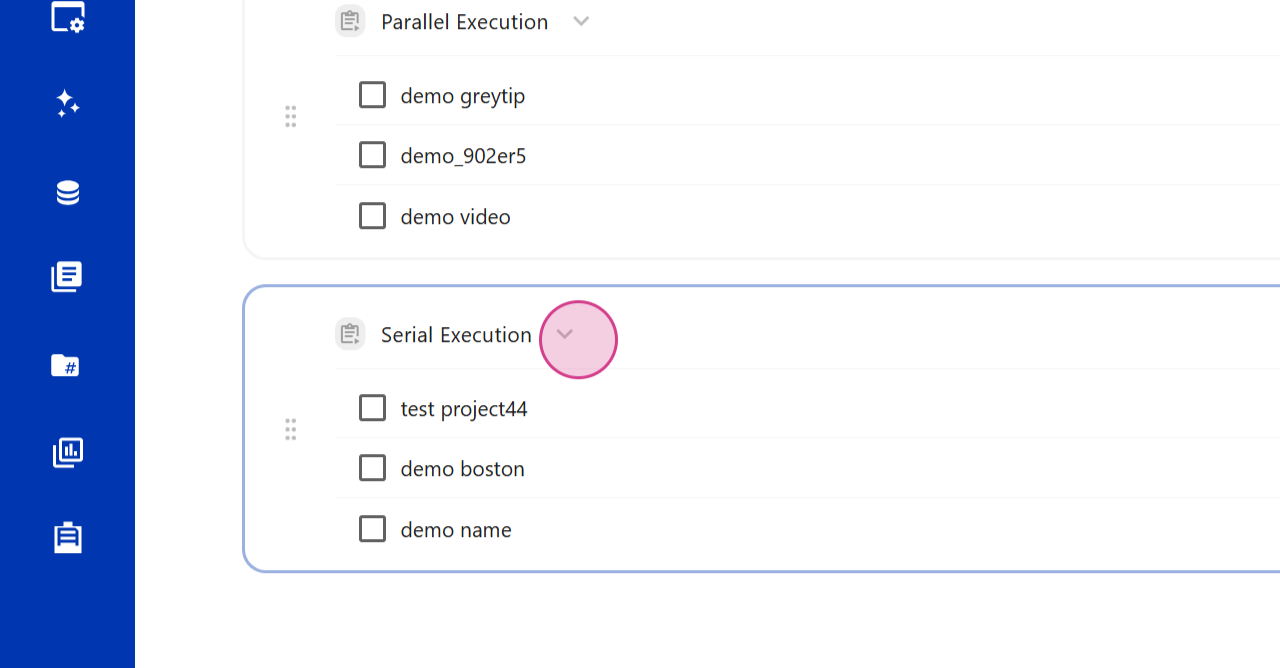
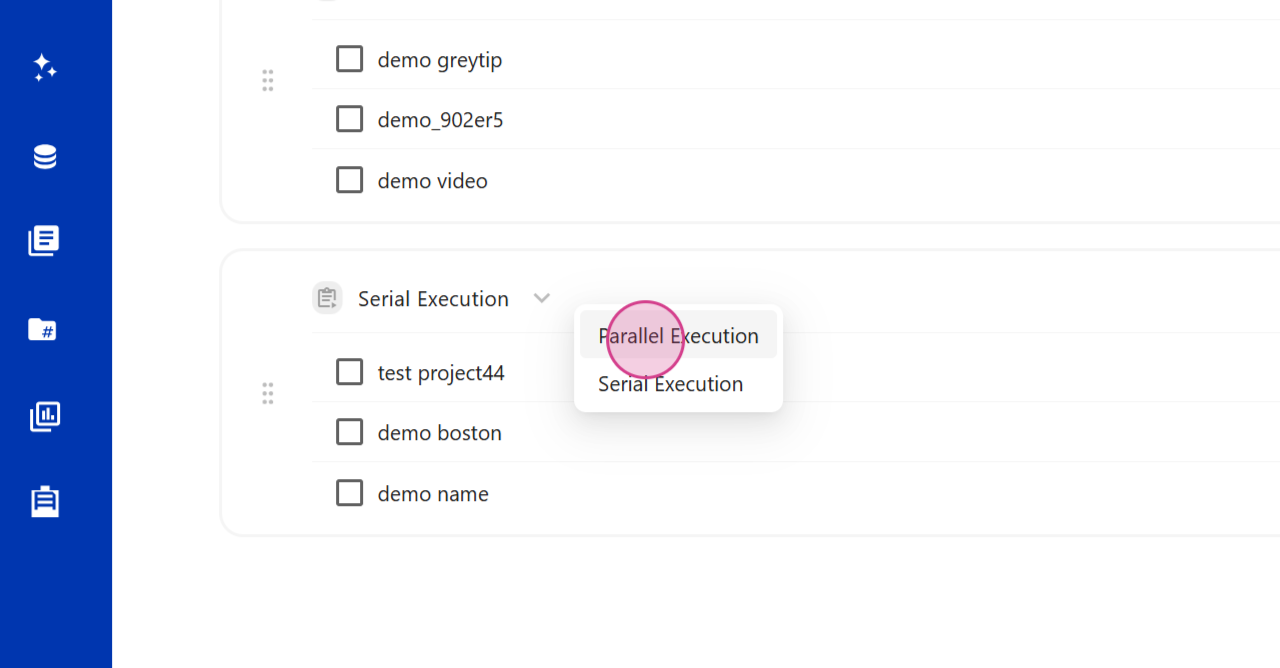
Step 9: Decide Whether to Run Your Test Cases in Serial or Parallel
Decide whether to run your test cases in Serial or Parallel by selecting from the dropdown menu.
Step 10: Rearrange the Order of Your Sections
Rearrange the order of your sections by clicking on the Change button.
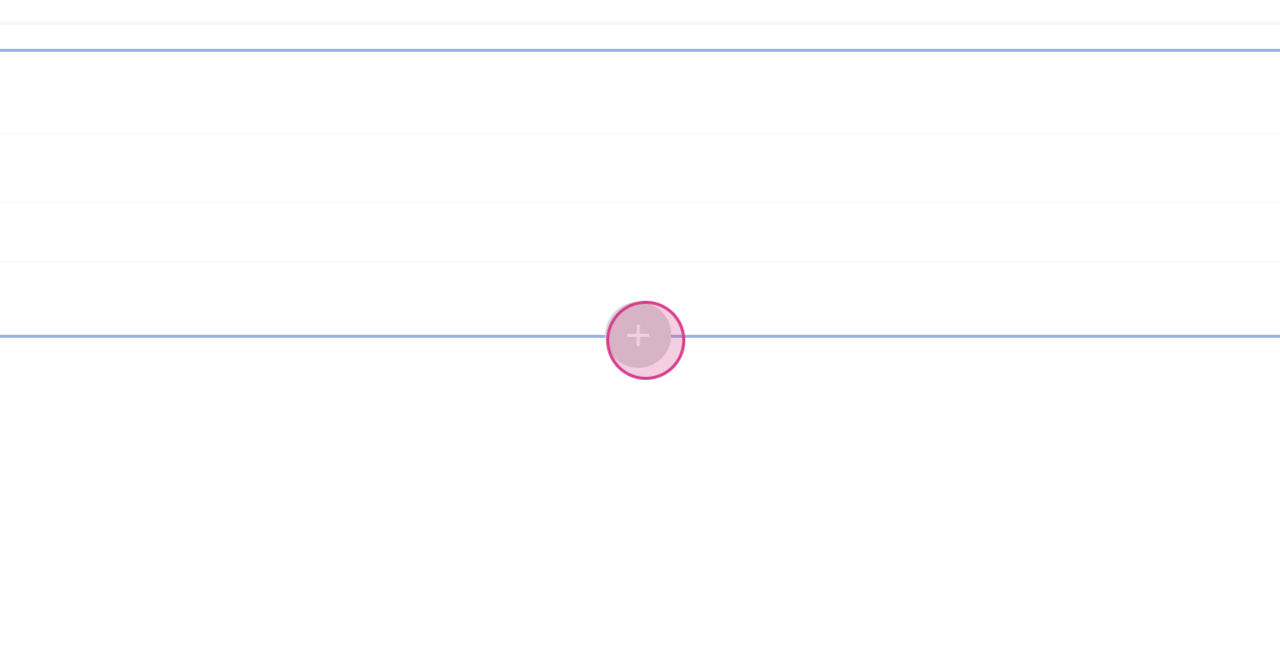
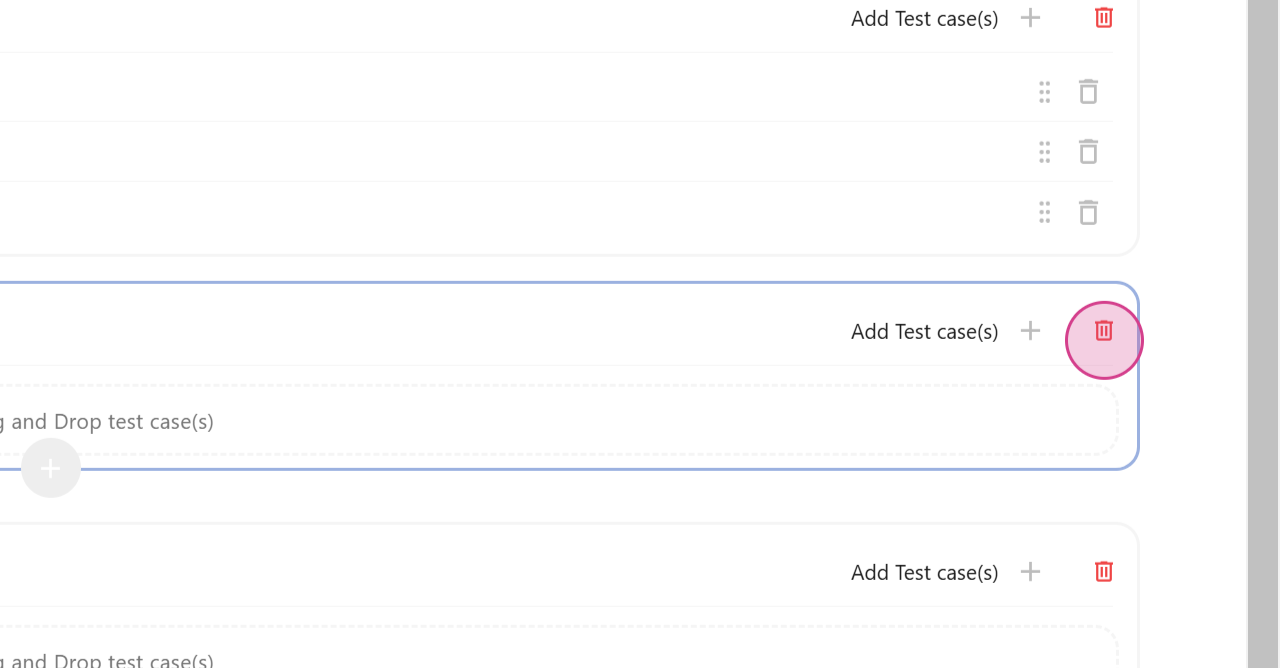
Step 11: Add Multiple Sections to Your Suite
Add multiple sections to your suite by clicking on the Plus icon.


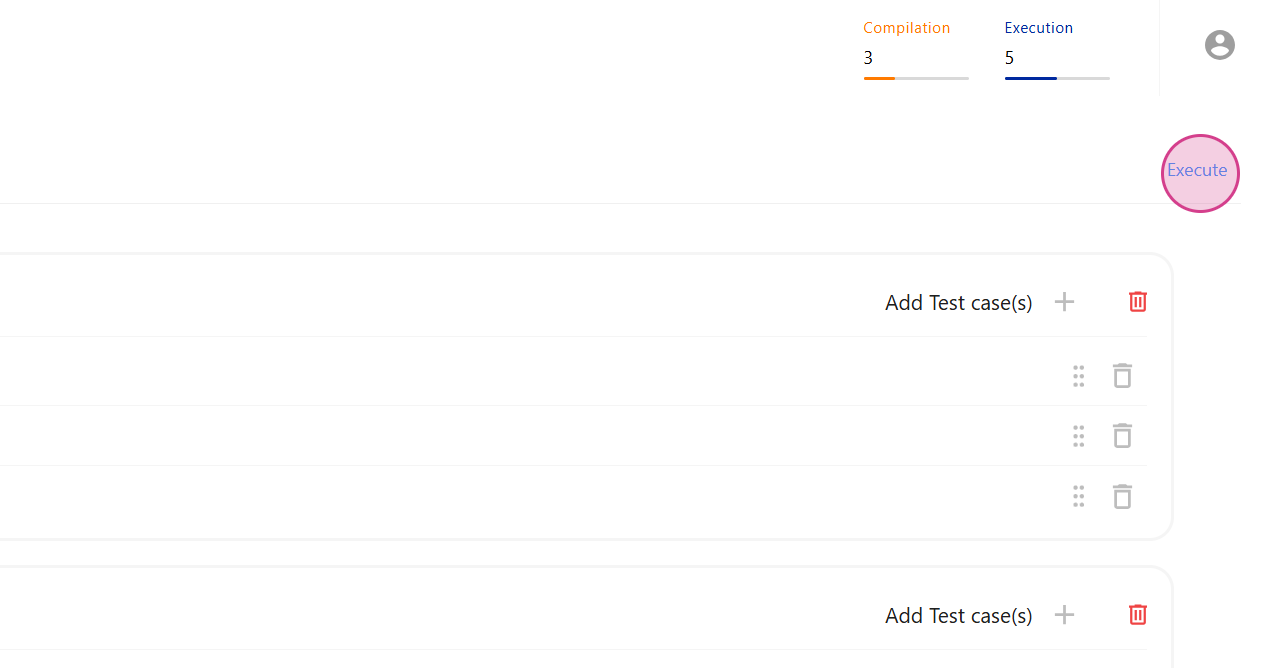
Step 12: Execute All Test Cases in Your Suite
Once your suite is set up, execute all test cases by clicking on the Execute button in the top right corner.
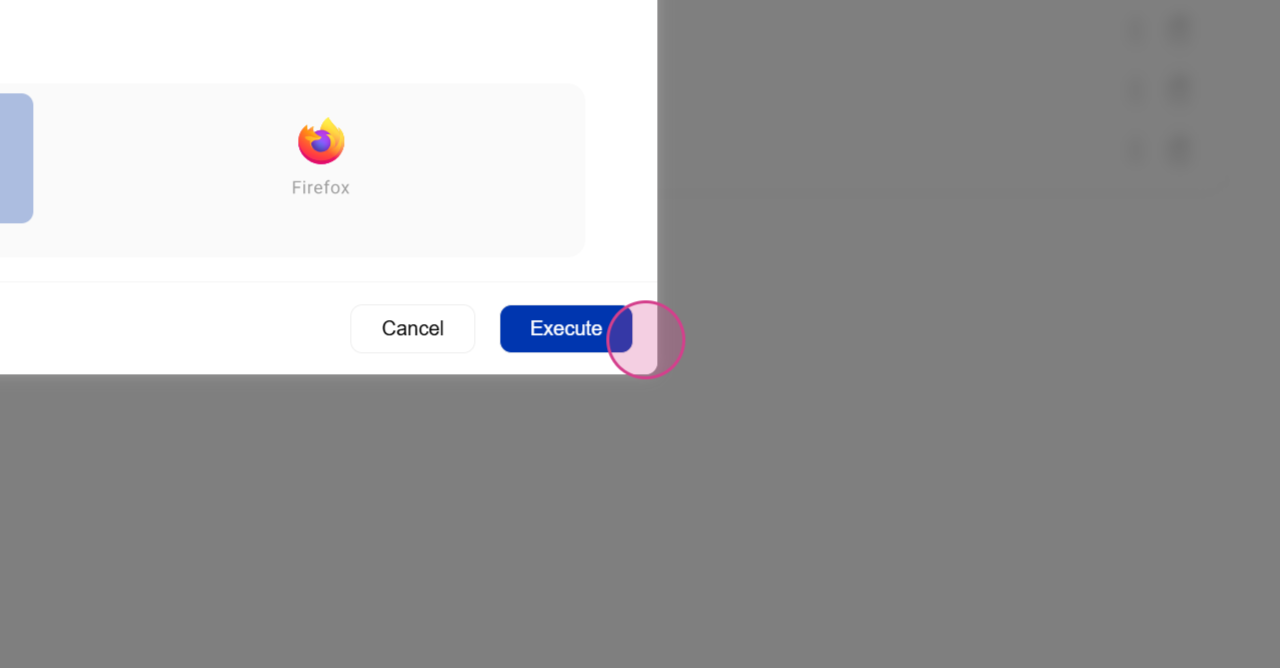
Step 13: Choose Your Preferred Platform and Browser Combination
Choose your preferred platform and browser combination, then click on the Execute button to run your test suite.